Summary
- Check for and install macOS updates to optimize performance.
- Uninstall unused built-in apps to free up space on your new Mac.
- Customize dock appearance, dark mode, widgets, and startup apps for efficiency.
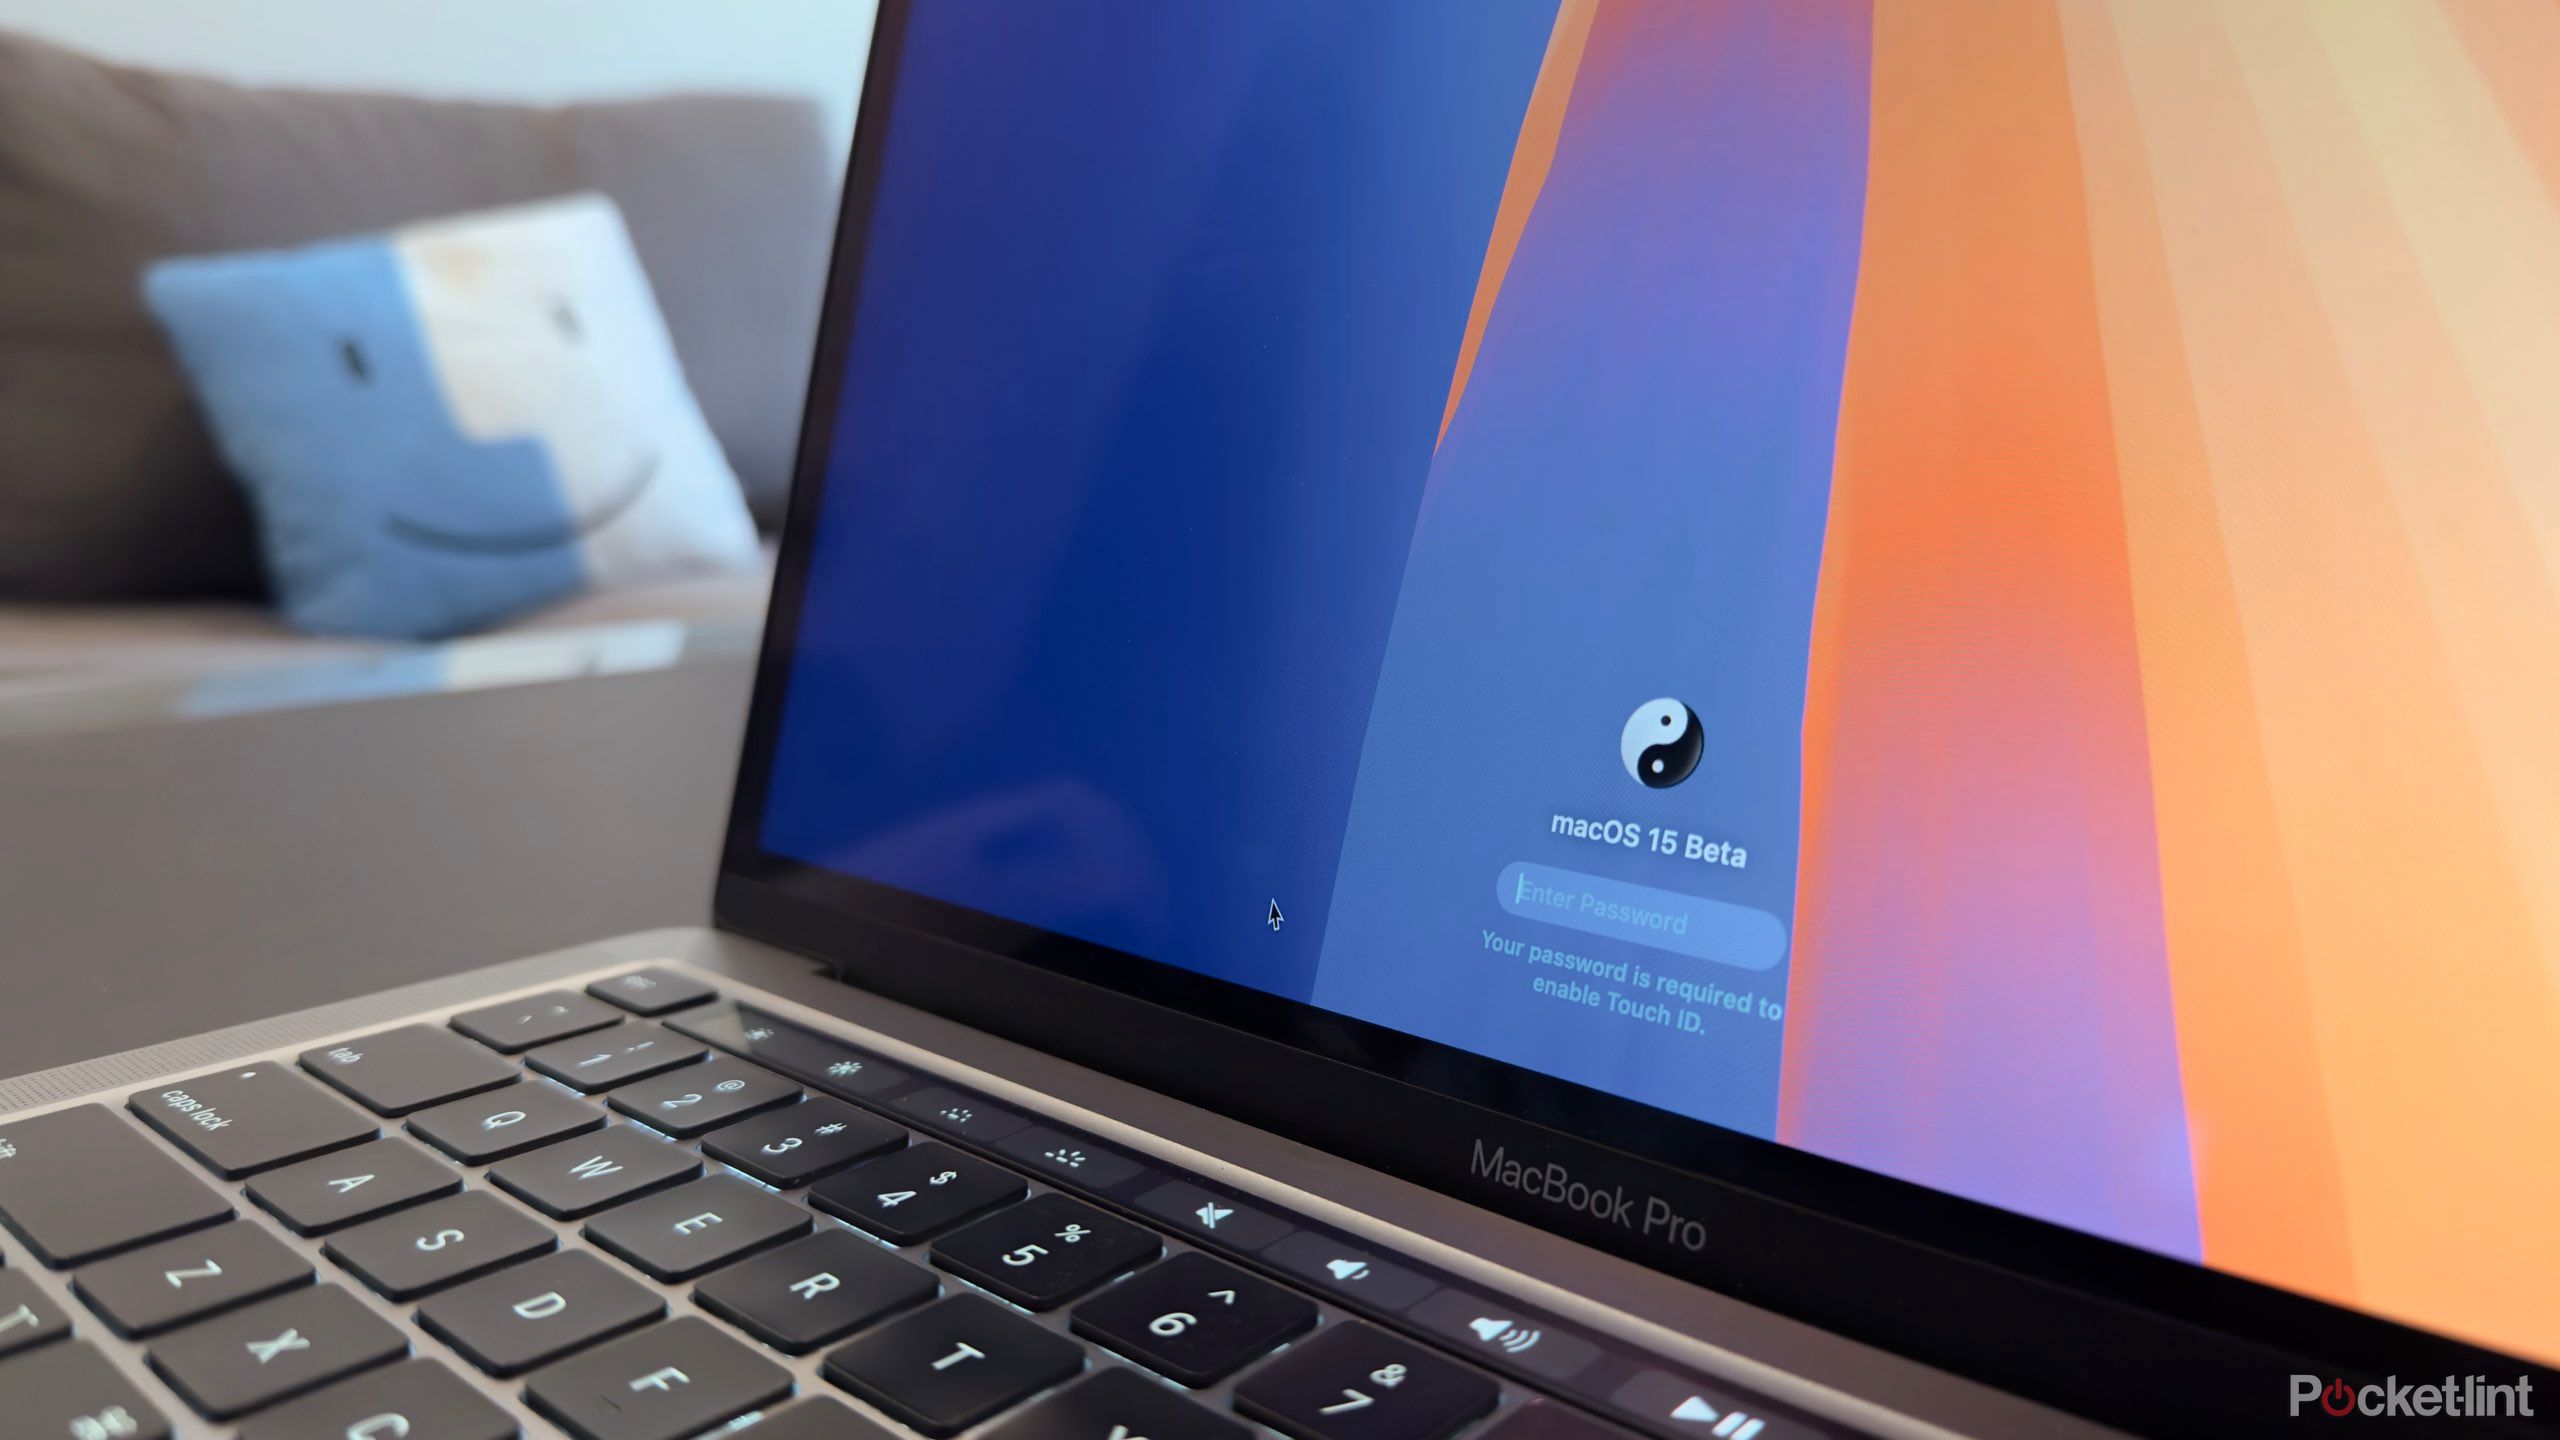
With the winter holiday season slowing down, it’s a great time to break that new MacBook out of the box. Whether you’re a student looking for a lightweight ultraportable laptop or a professional looking for a laptop that delivers killer efficiency, there’s just no ignoring the Apple MacBook lineup. It’s a great time to pick up a new M-series CPU MacBook Air or MacBook Pro, but you may feel overwhelmed if you’ve never owned a Mac before.
I test out new MacBook’s every year, and to make the experience of getting your first Mac easier, here are the first things I do whenever I get a new MacBook.
1 Check for new OS updates
Download any new updates that make macOS run smoother
Apple
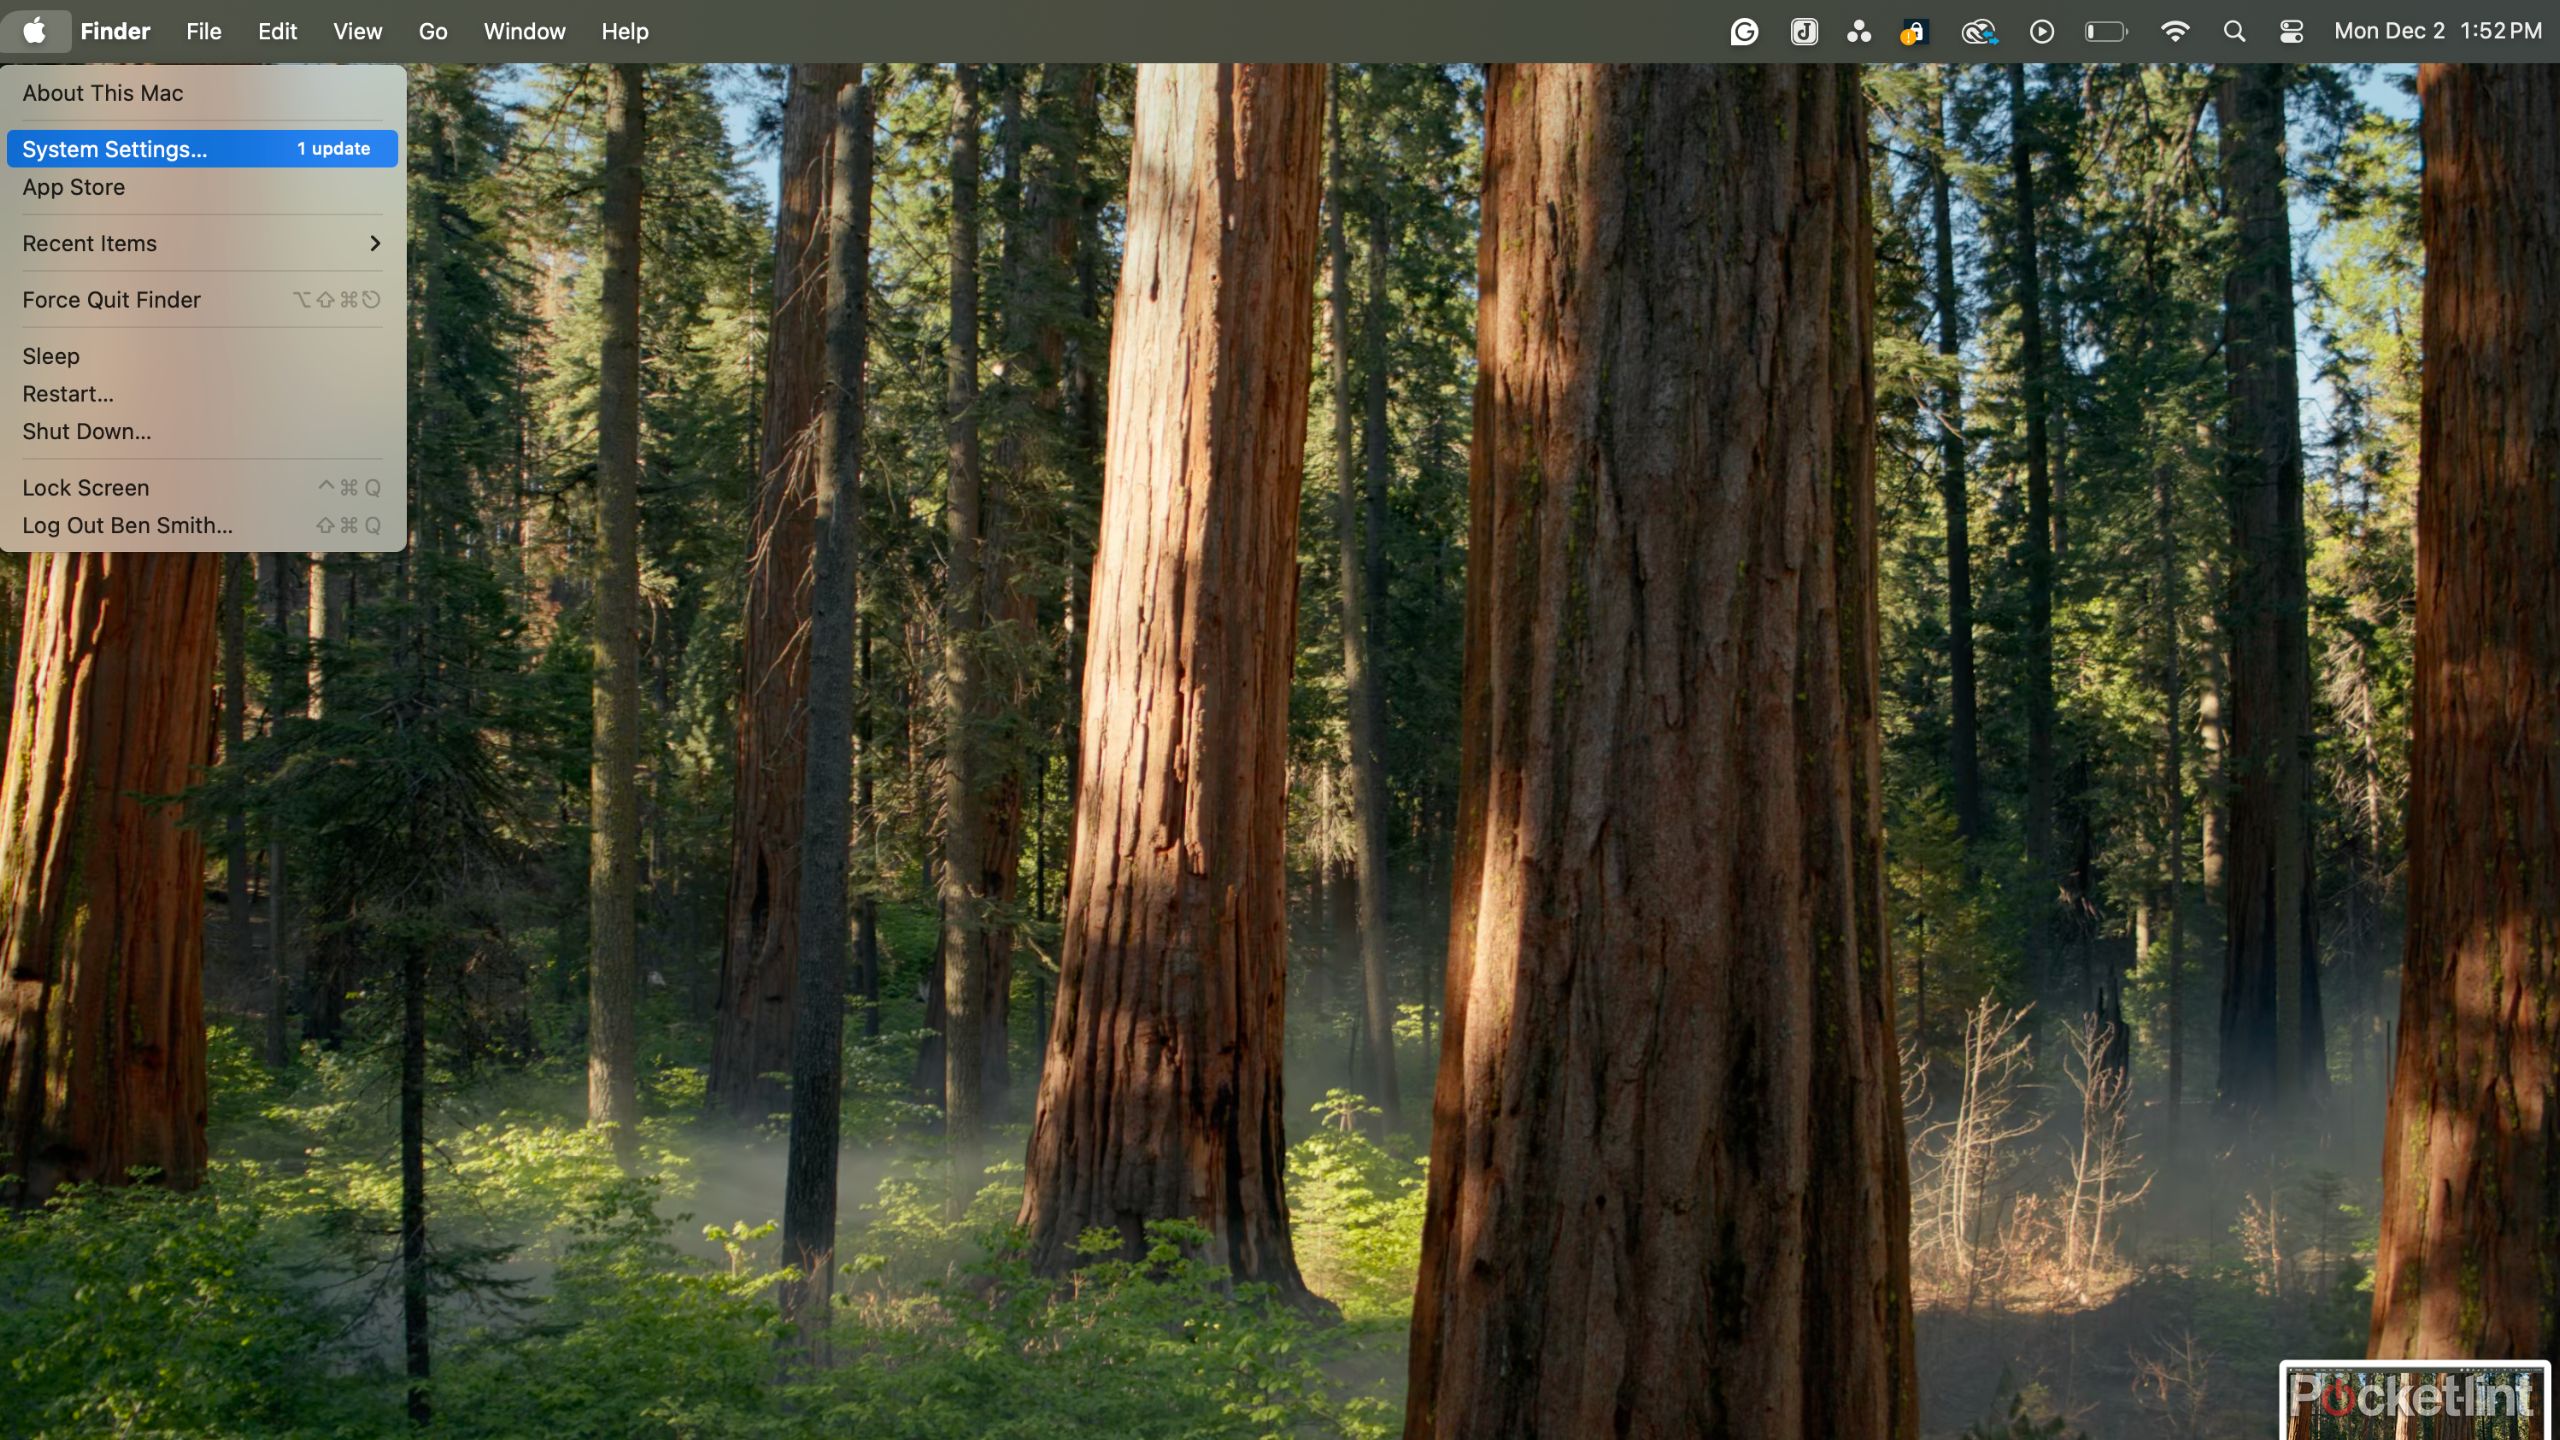
Apple delivers excellent software updates for their devices, and macOS is routinely patched with optimization updates. Here are the steps for checking for a new macOS update and how to install any updates:
- Click the Apple icon on your desktop’s top left corner.
- Open the System Settings tab.
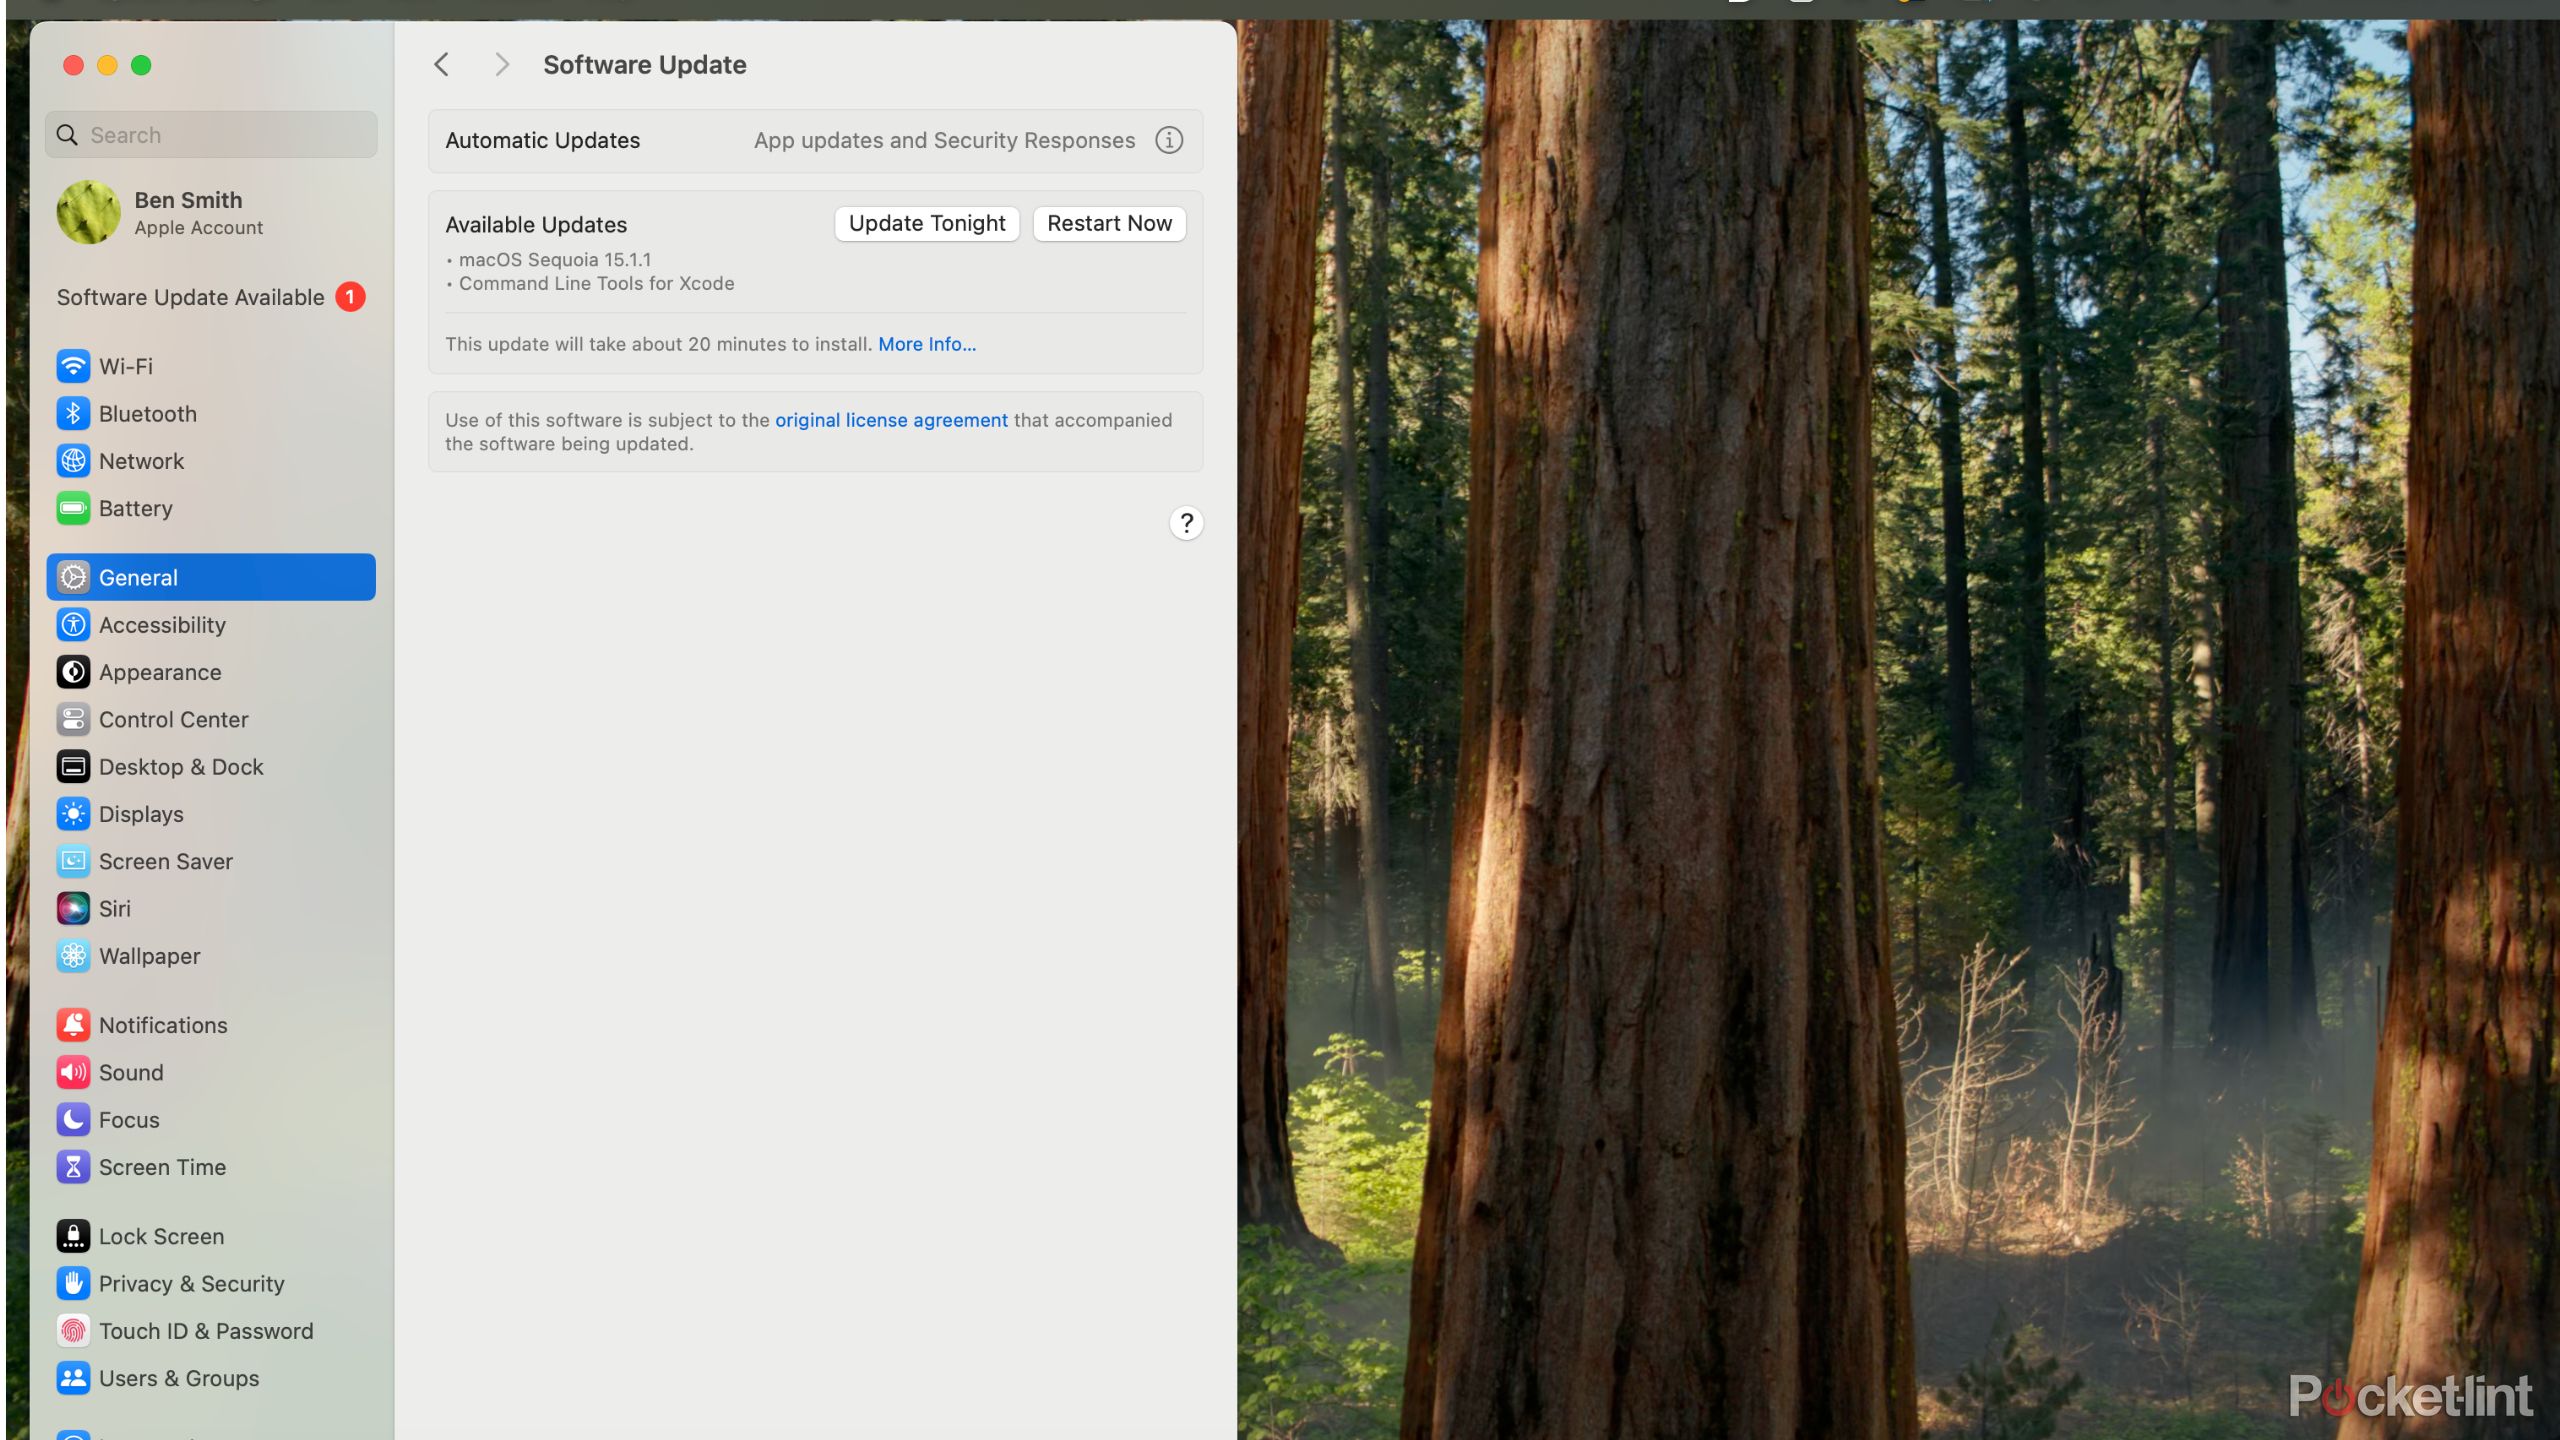
- While in System Settings, scroll down in the left pane to General.
- In the right pane, select Software Update.
- Here you can see any updates available. If you have updates available, install them.
Once the update is finished installing, macOS will ask you to restart your MacBook. Once your MacBook has restarted, the macOS update will be fully installed.
Related
If your MacBook with a Butterfly keyboard breaks, you’re now out of luck
Apple has ended its free service program that fixed butterfly keyboards on old MacBooks.
2 Uninstall built-in apps you don’t need
Not everyone needs GarageBand
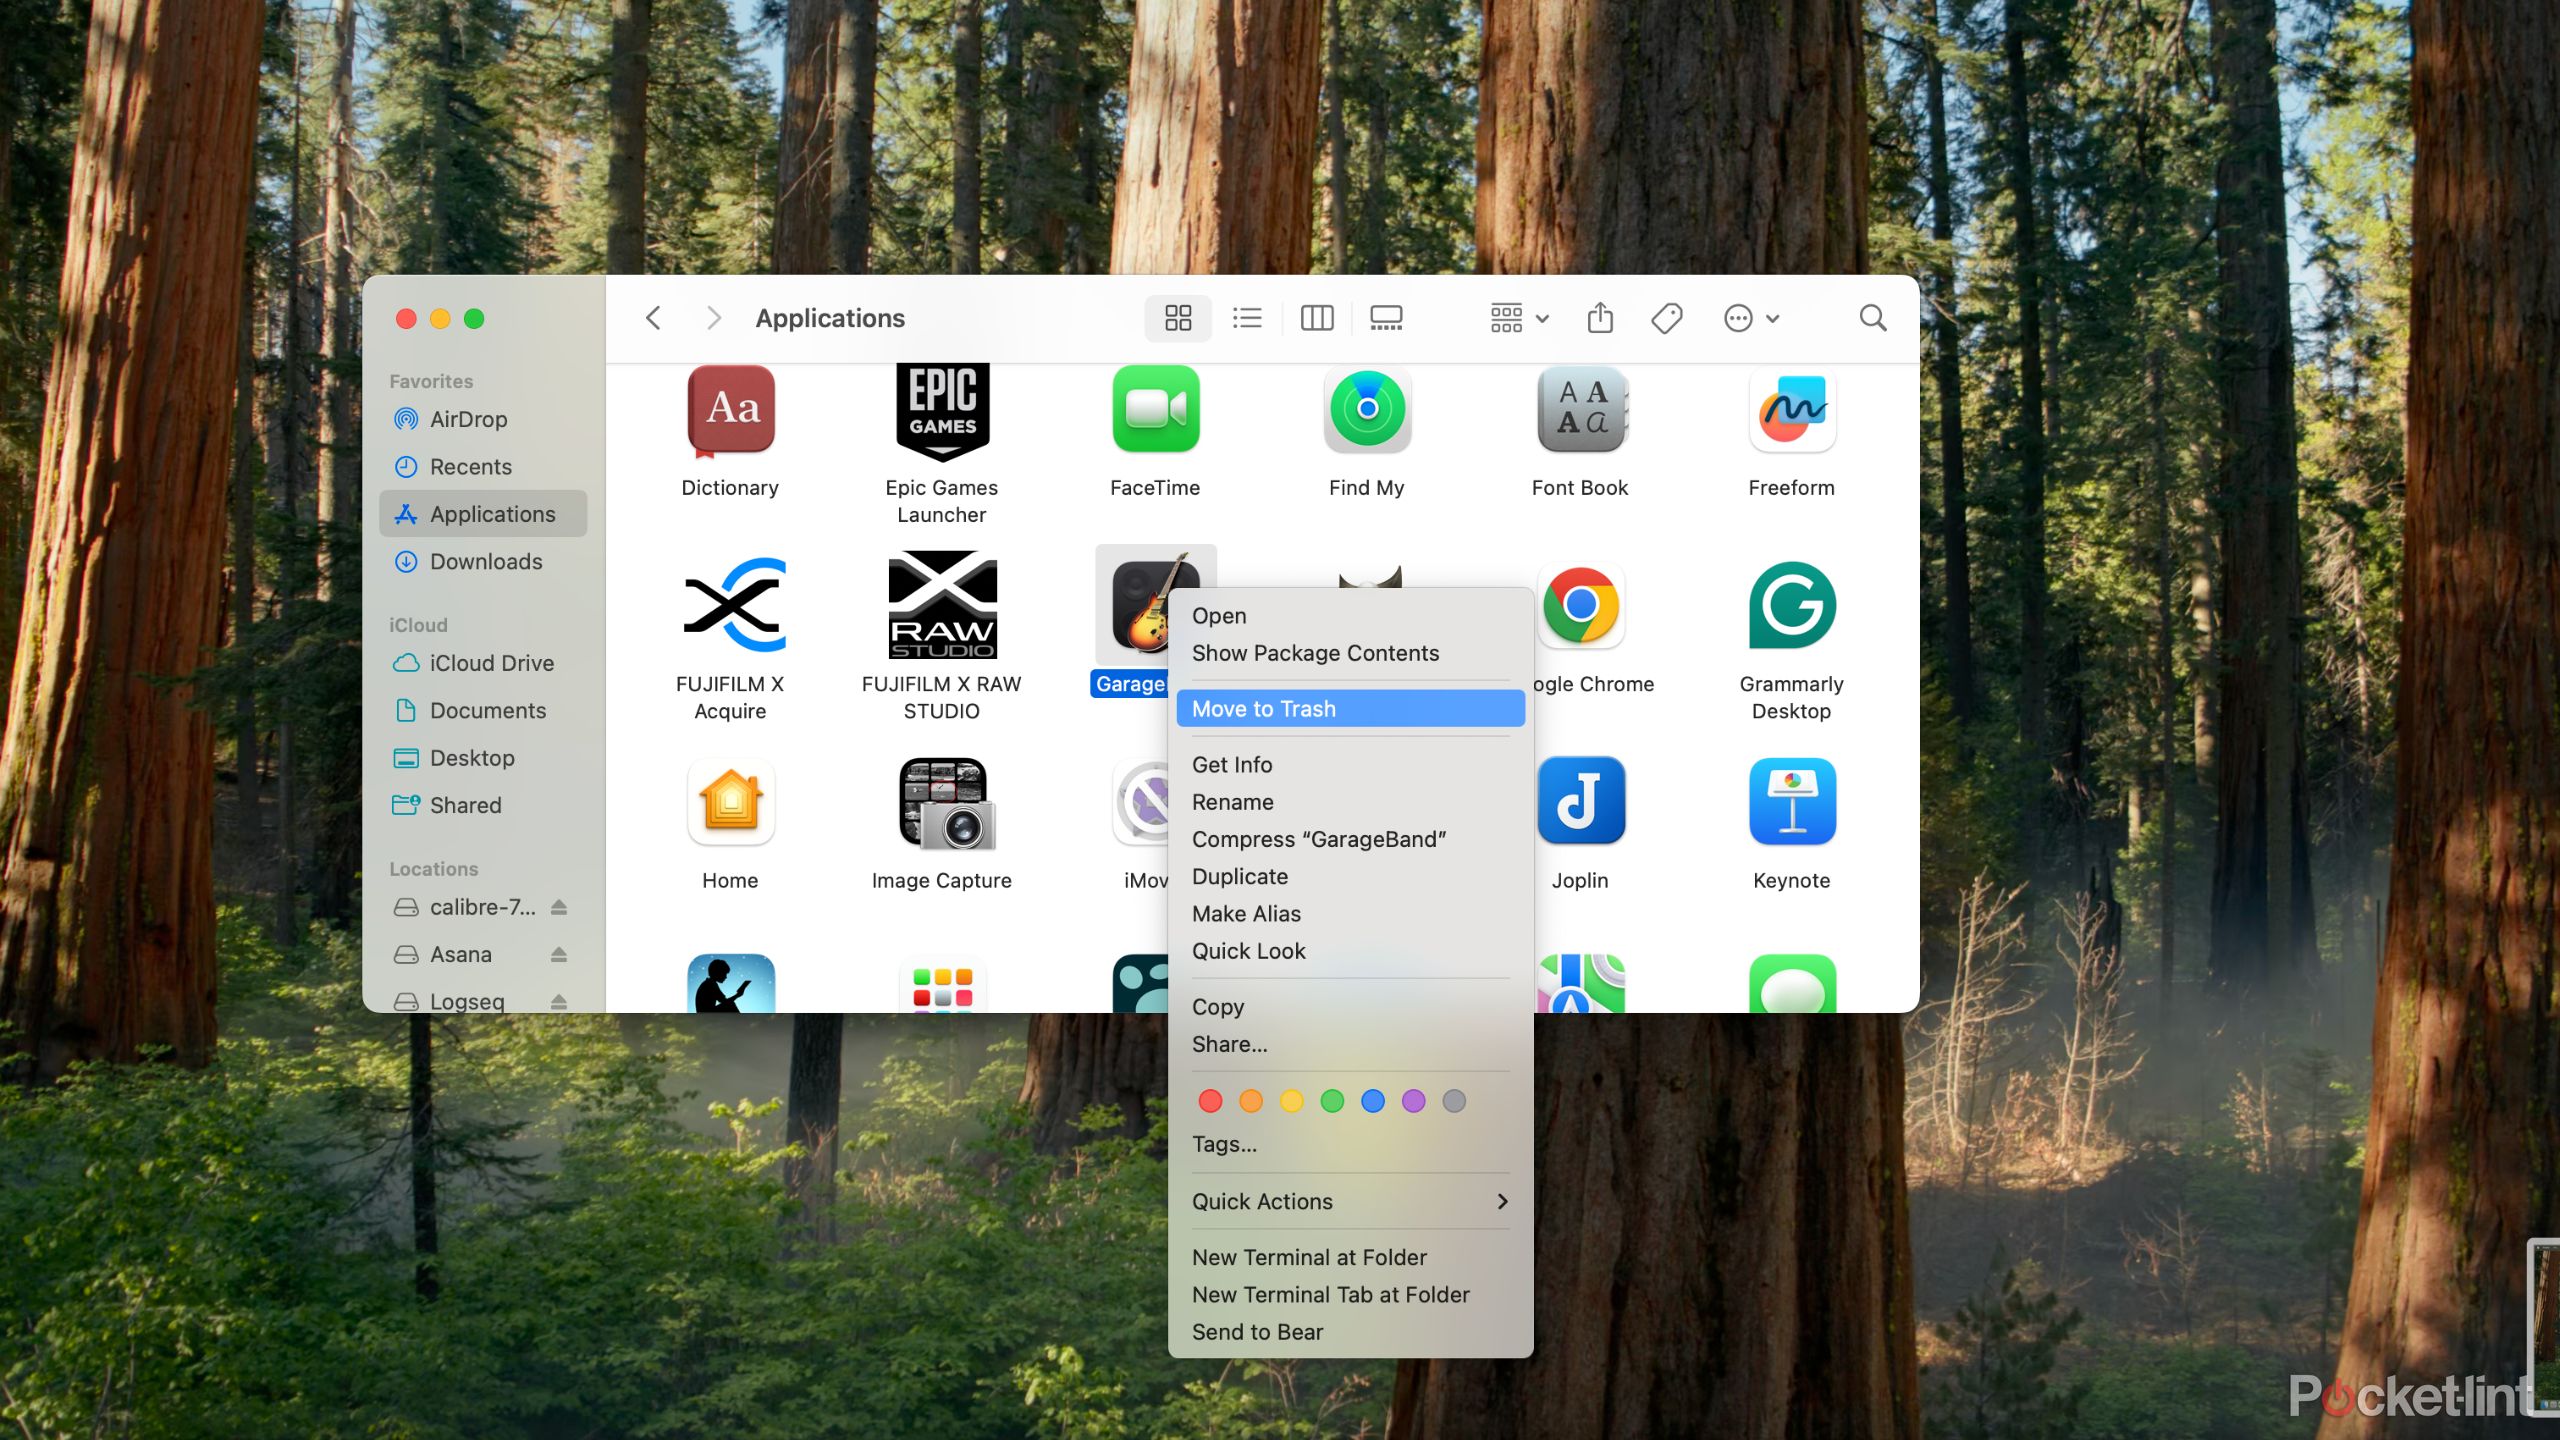
Your brand-new MacBook will come with a long list of pre-installed apps, and while every app that Apple includes is useful, they’re not all necessary for everyone. I don’t mix music, and if I do mix an audio file, I use a program such as ProTools or Ableton. For this reason, I always uninstall GarageBand to free up some space on my new Mac.
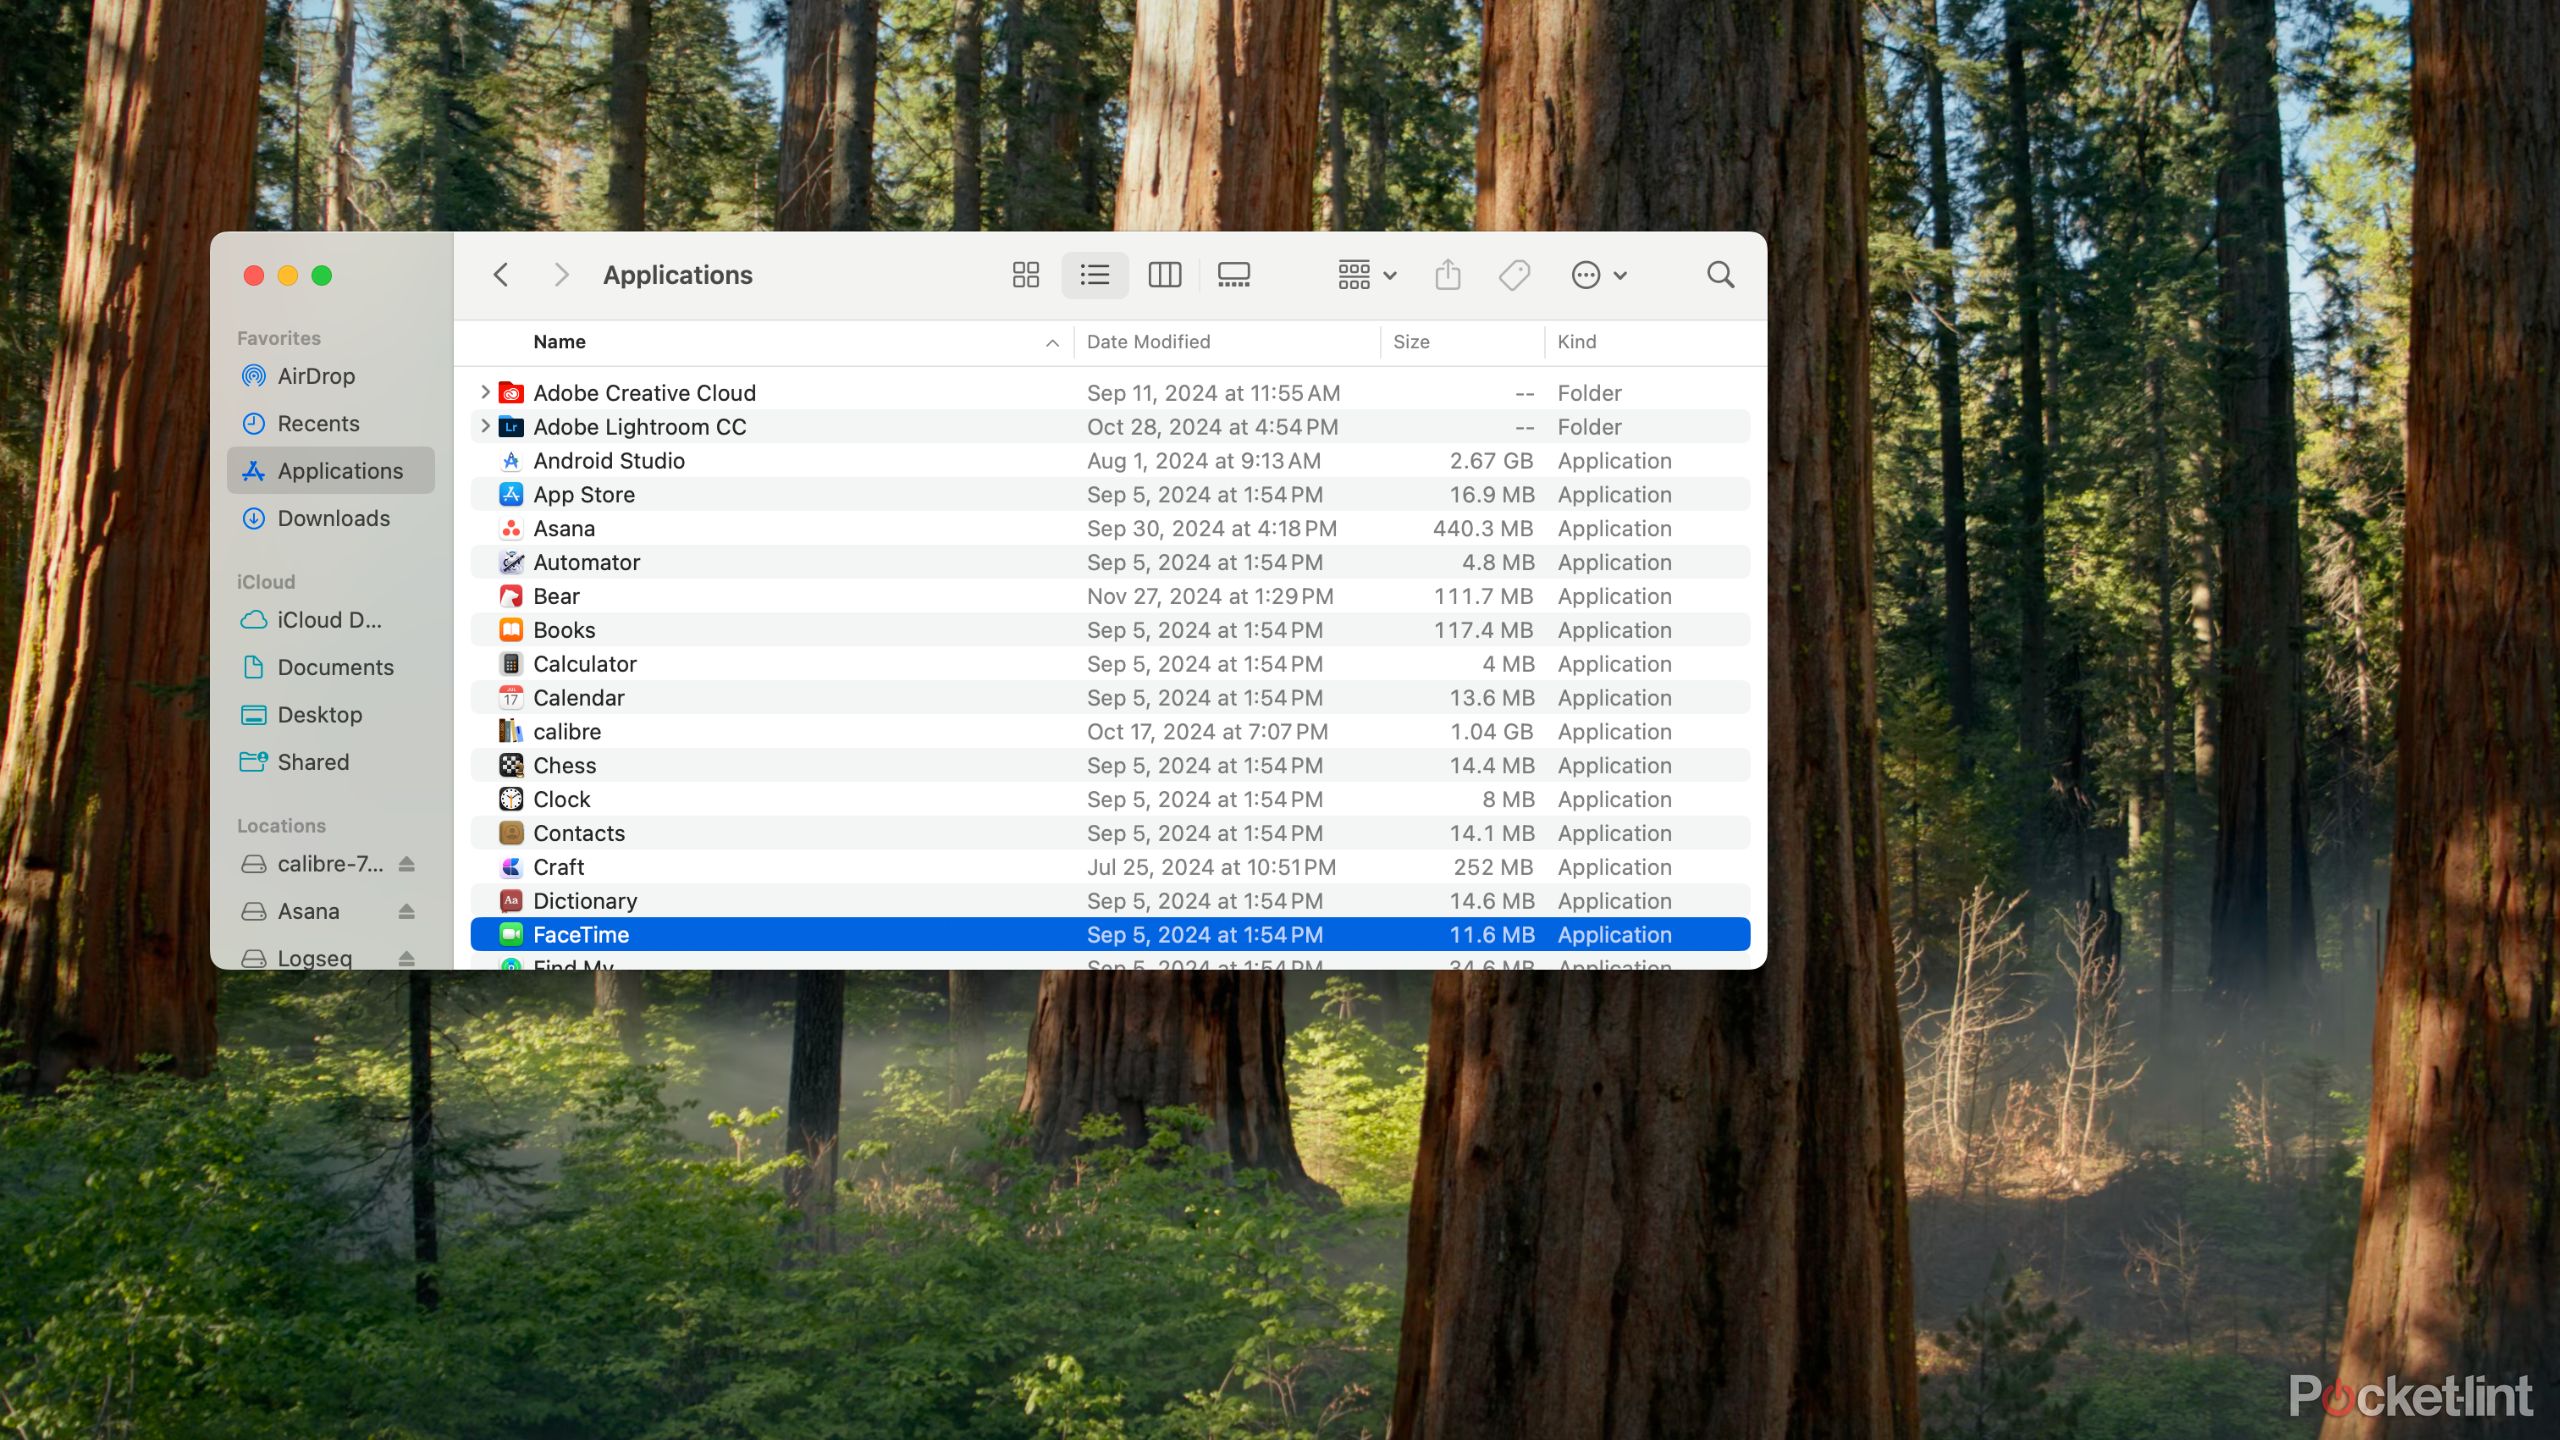
Here’s what you need to do to see which pre-installed apps are on your new Mac and how to delete them:
- Open Finder.
- Select the Applications menu.
- Go through the list, and when you find an app you don’t need, right-click on the logo and choose Move to Bin.
- Go through the rest of the Applications menu and delete any other apps you don’t need.
All of Apple’s pre-included apps are free to re-download from the macOS App Store, so if you ever have a change of heart or want to try out an app that you deleted, you can just re-download it for free.
Related
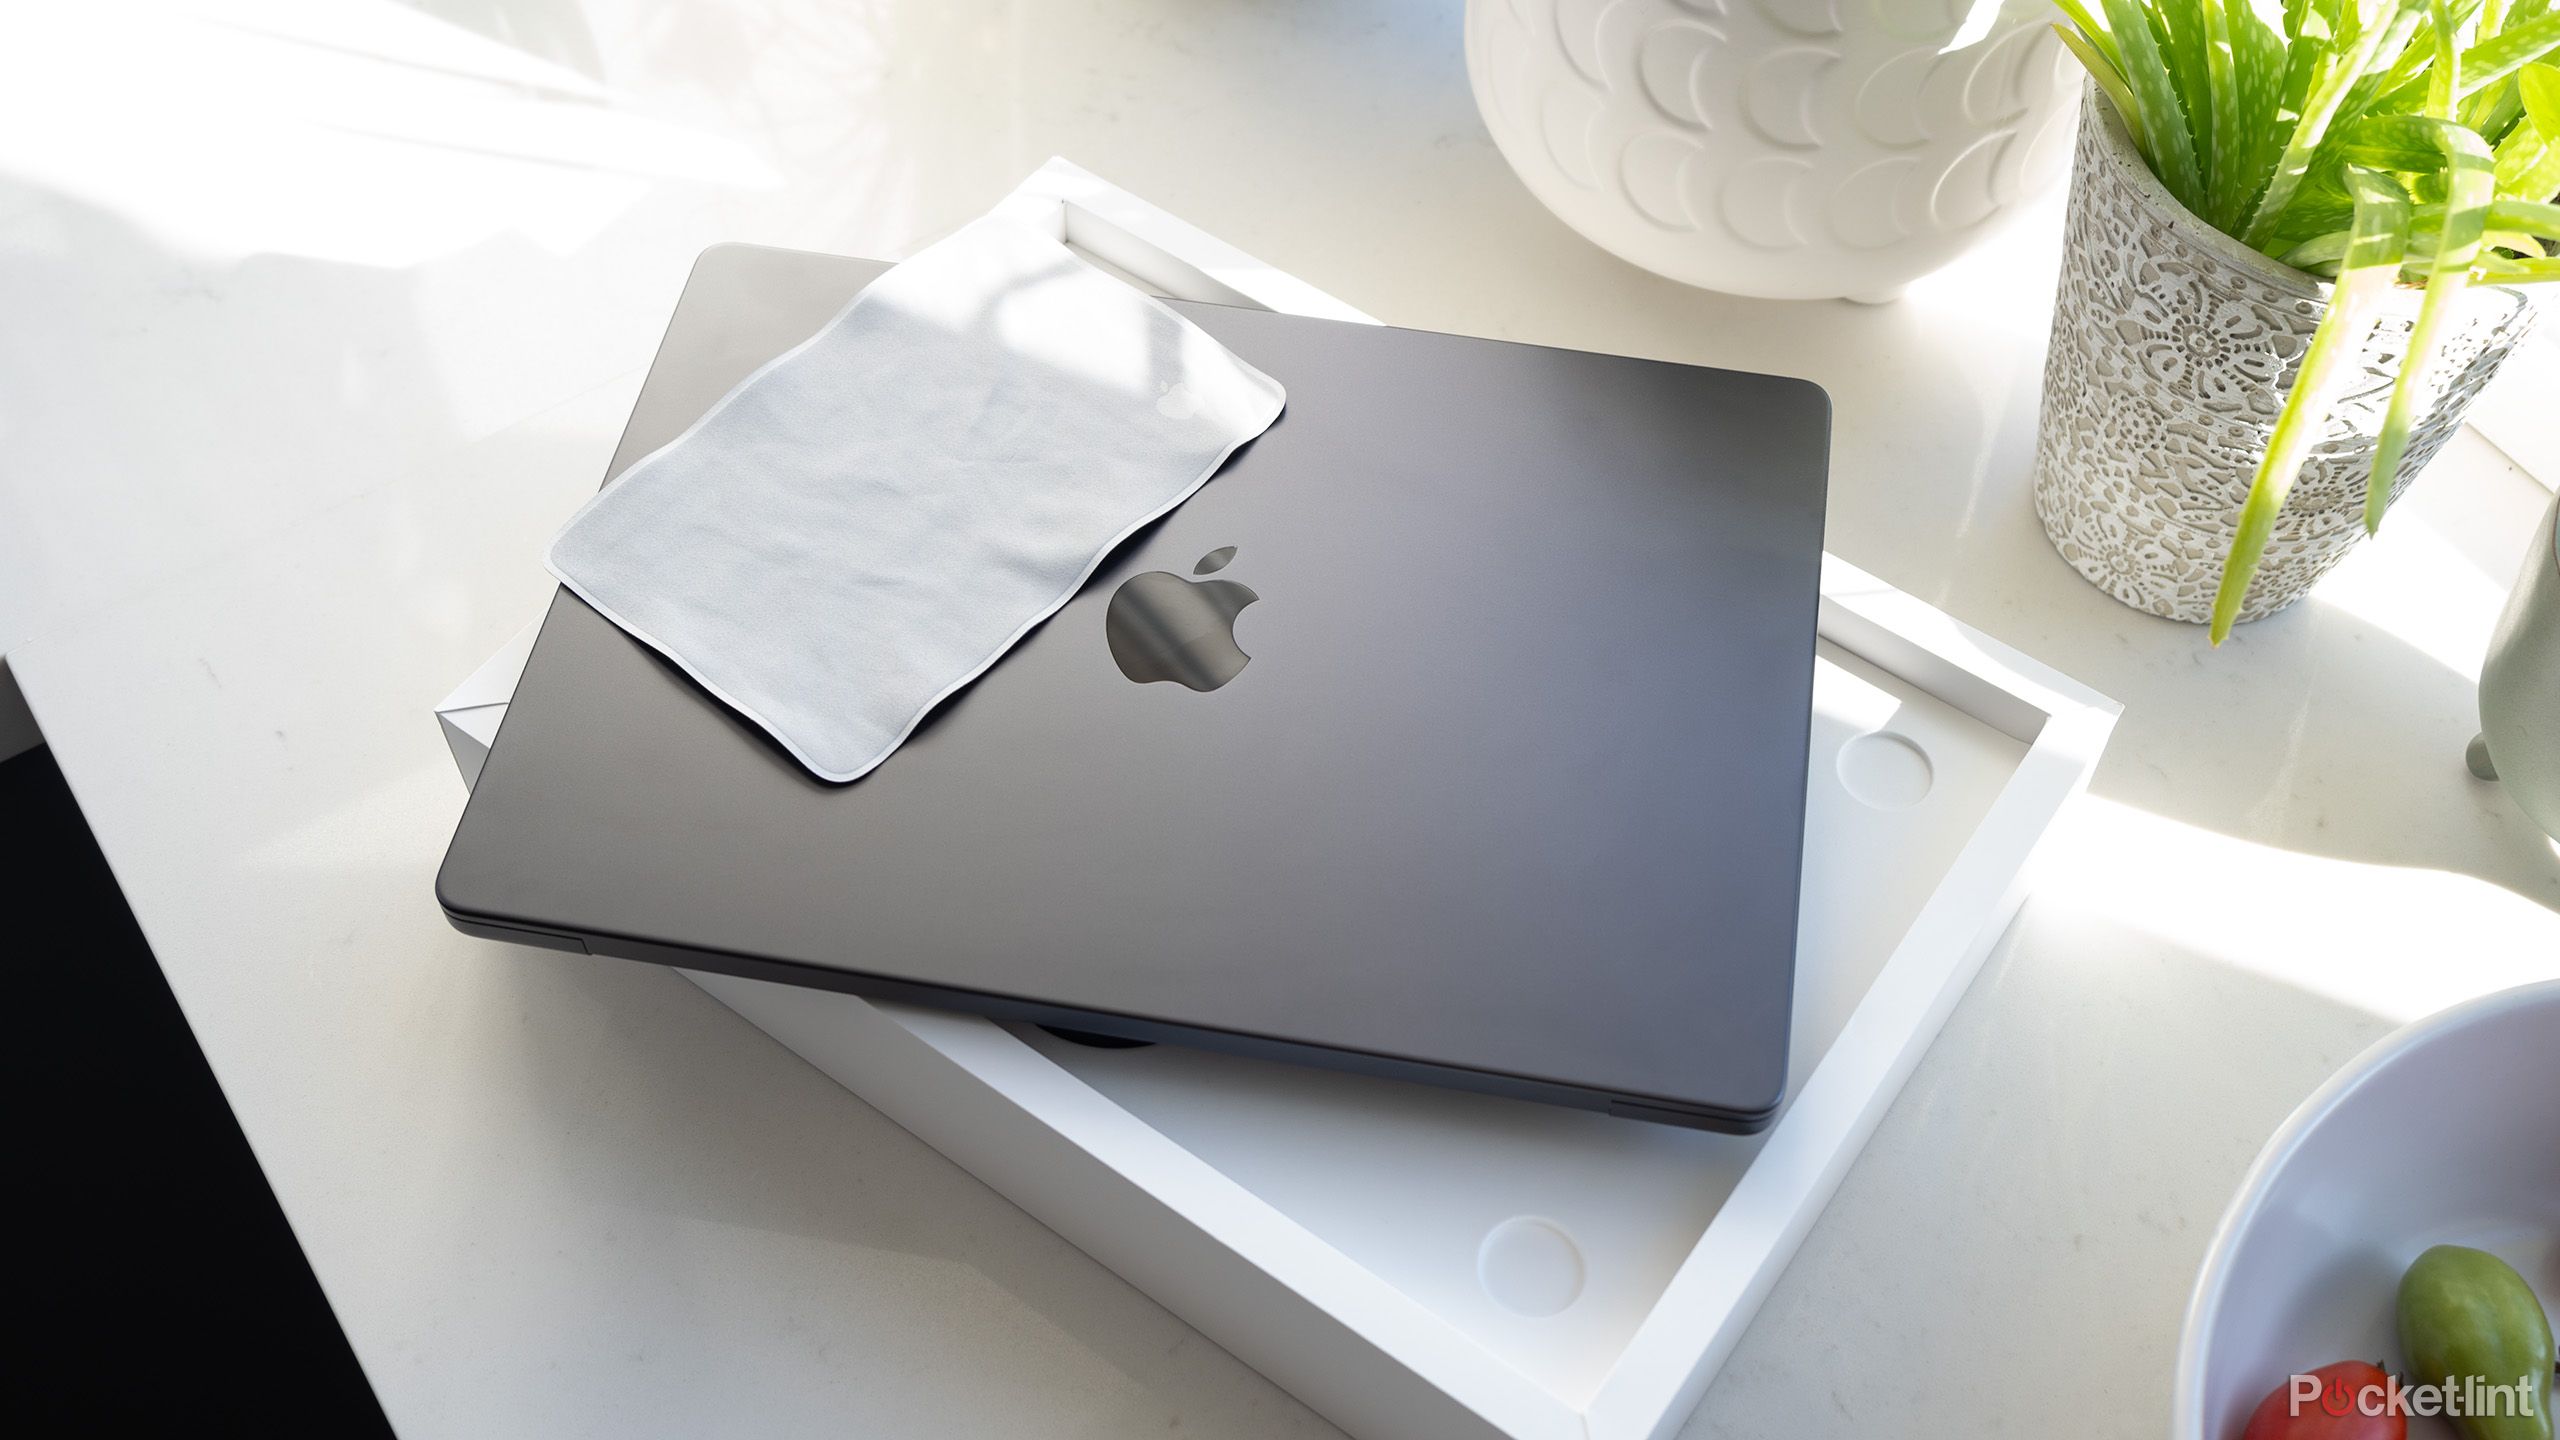
The M4 MacBook Pro with nano-texture includes an unexpected bonus accessory
Wipe away that grease with Apple’s pricey Polishing Cloth.
3 Organize the dock
Set your favorite apps in the dock for easy and quick access
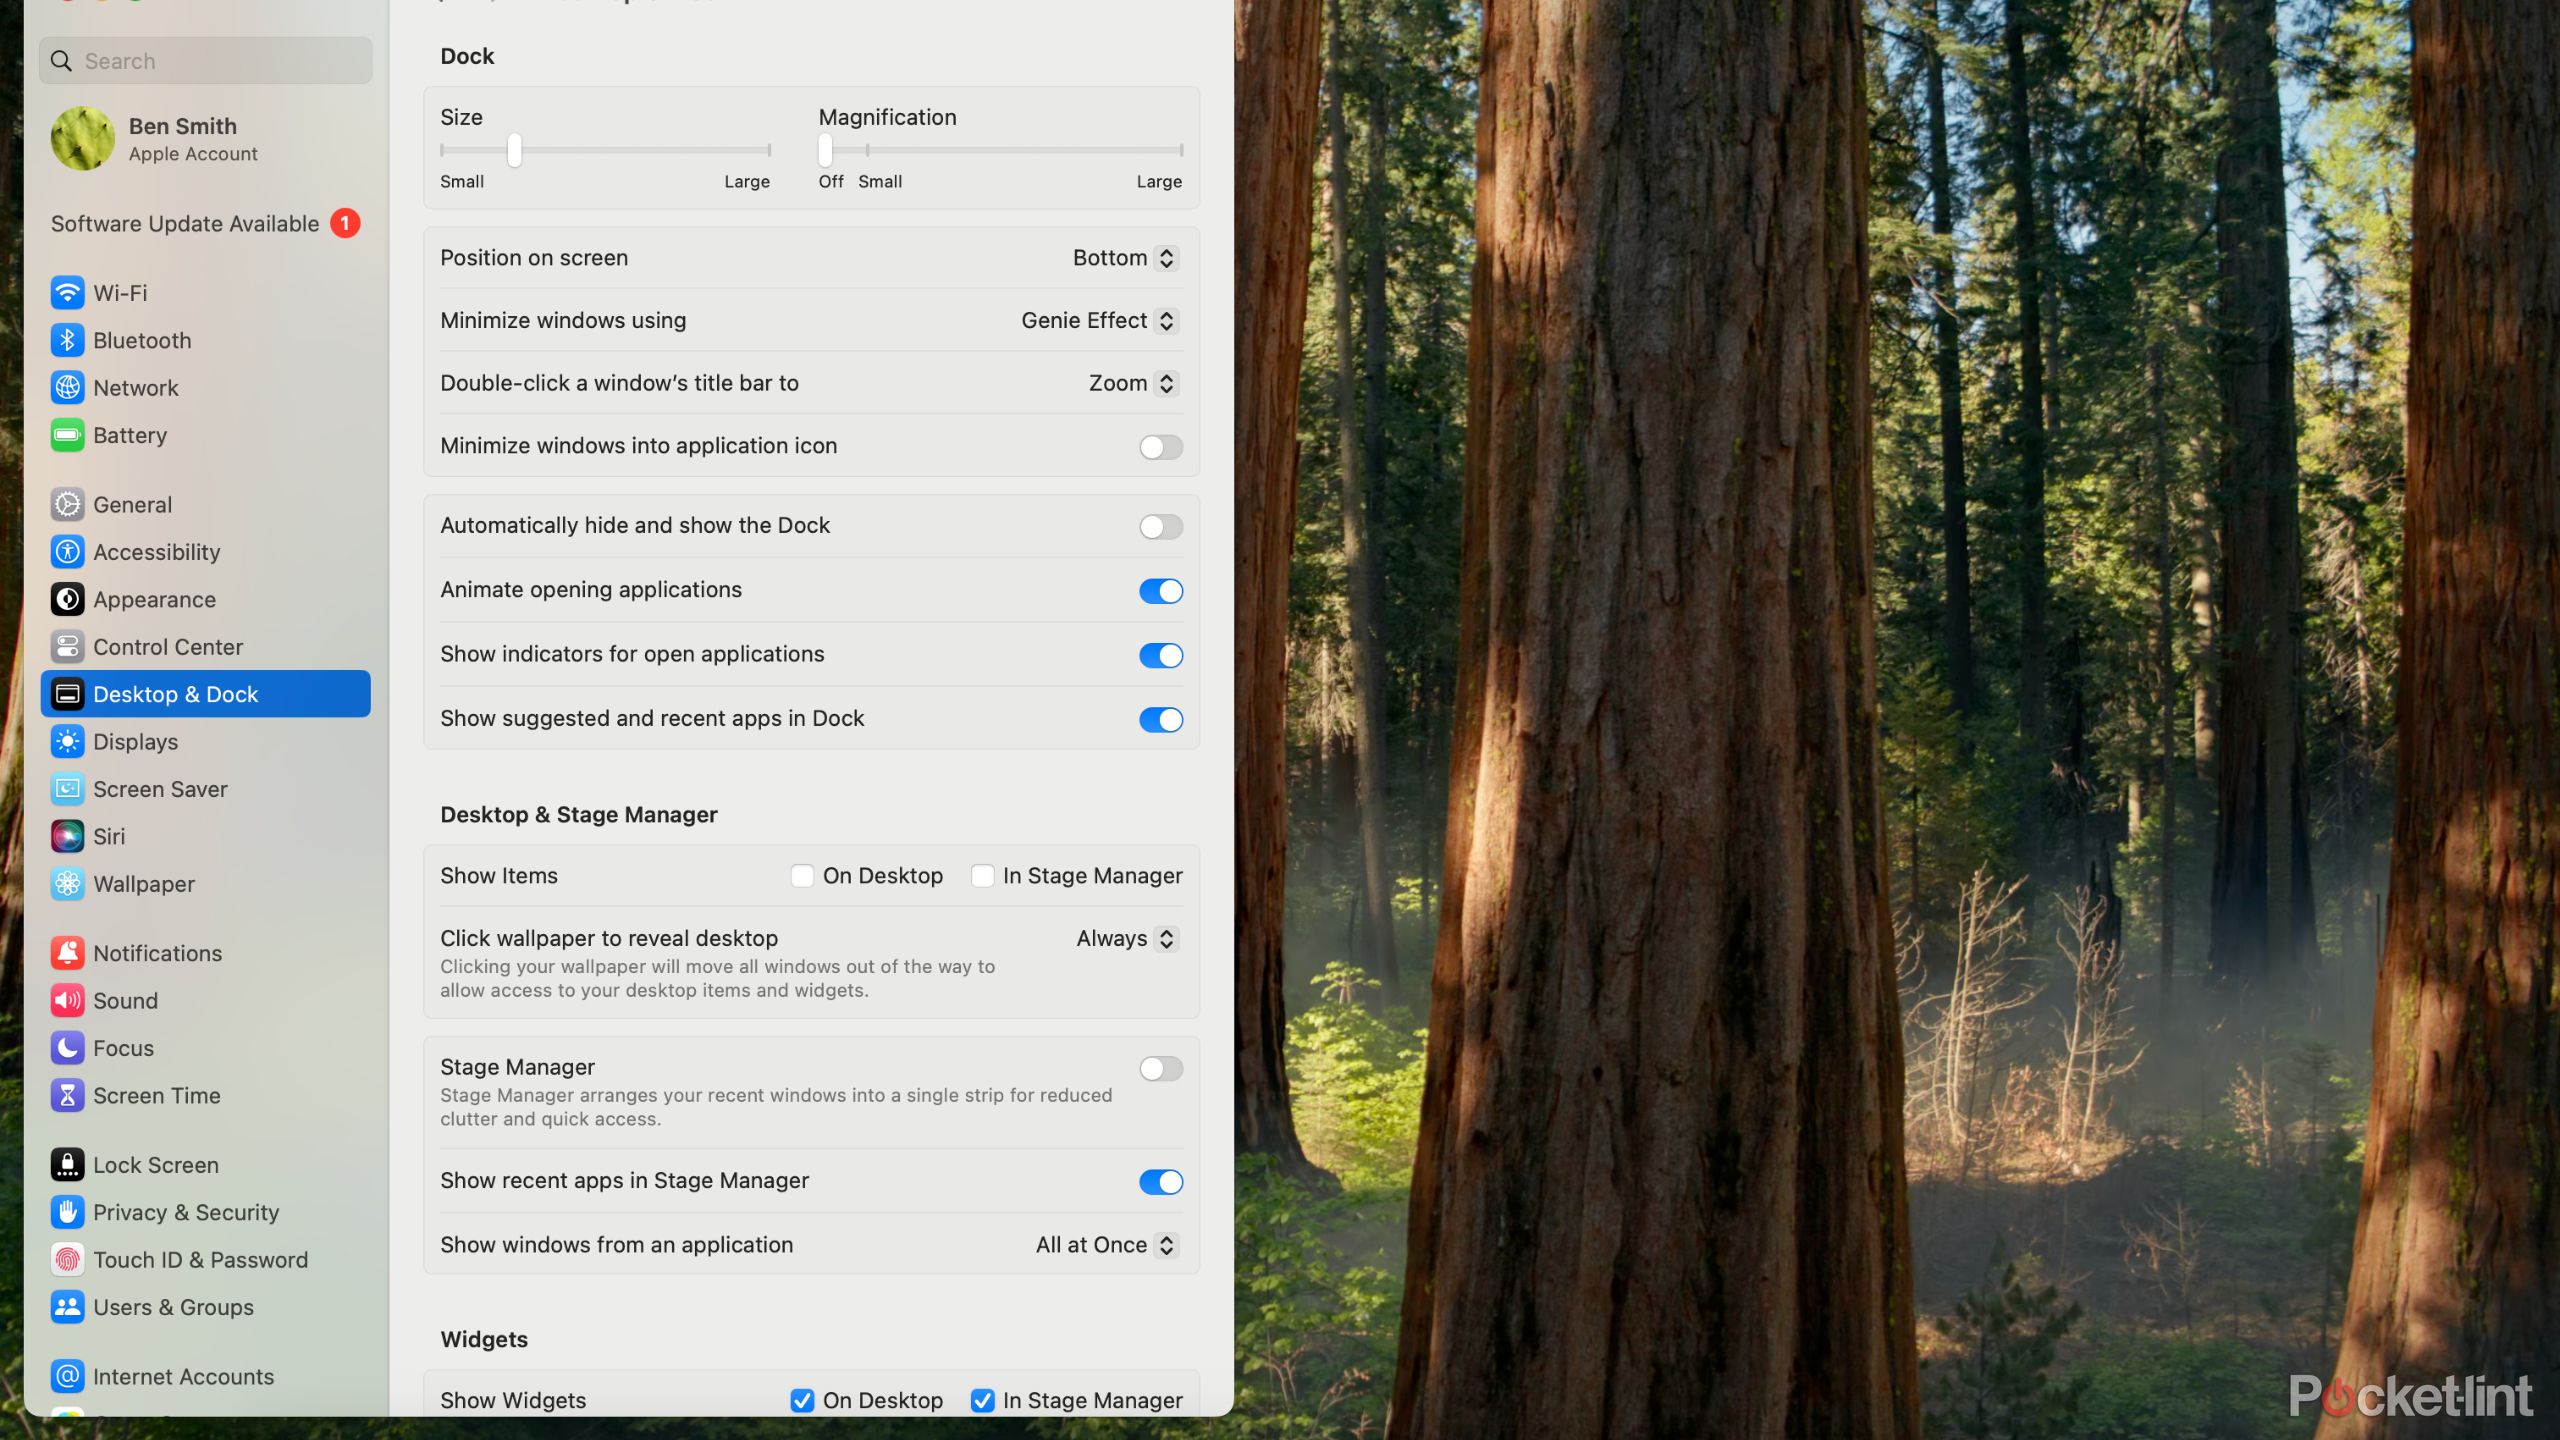
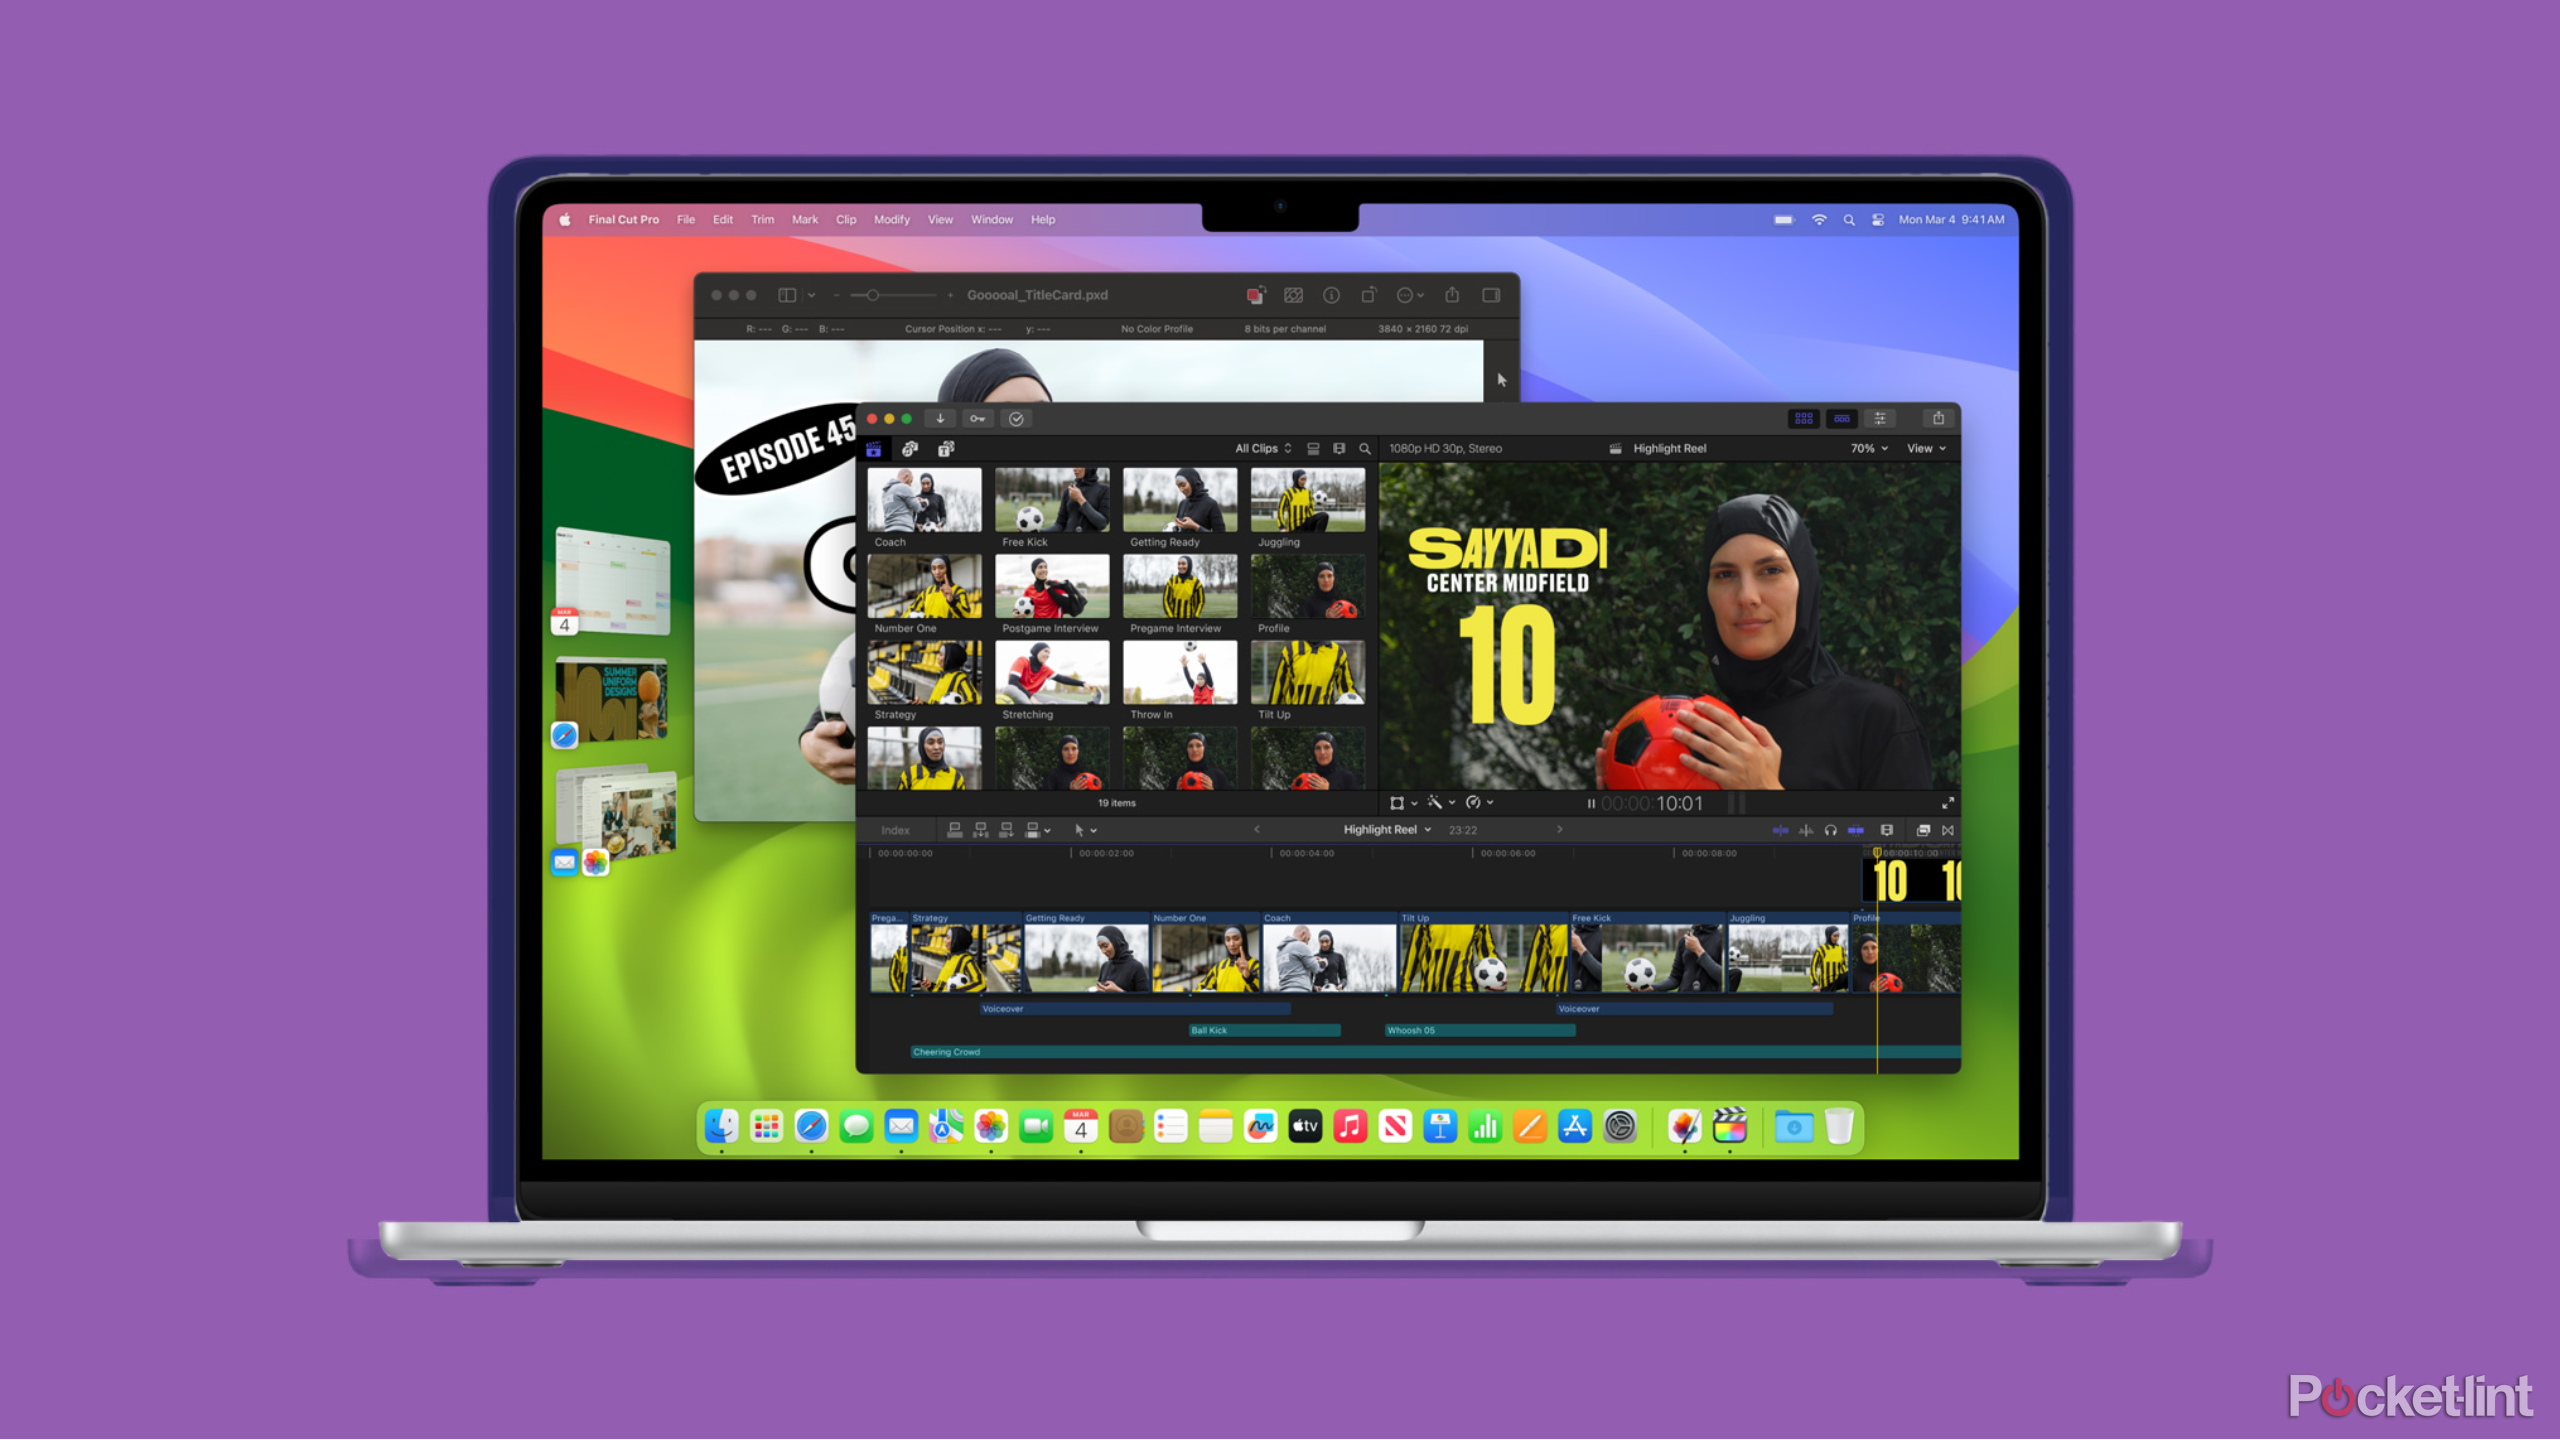
The Mac dock at the bottom of the screen gives you quick, one-click access to all of your favorite programs. You can drag and drop anything on the dock to the Bin to delete it, or you can right-click and choose to unpin from the dock. If you want to fully customize your dock, follow these steps:
- Click on the Apple logo in the screen’s upper left corner.
- Open the System Settings menu.
- In the left pane, click Desktop & Dock.
Once you access the ‘Desktop & Dock‘ settings, you can change the magnification, positioning of the dock, along with other tweaks.
I personally like to make my dock a little smaller than the macOS default dock, and I turn the magnification of icons off.
Related
MacBook Air not working right? My go-to troubleshooting tricks to try
Here’s how to fix common MacBook Air issues like slow startup, bad Wi-Fi connectivity, and lacklustre performance.
4 Adjust the appearance settings
Get macOS looking exactly how you want
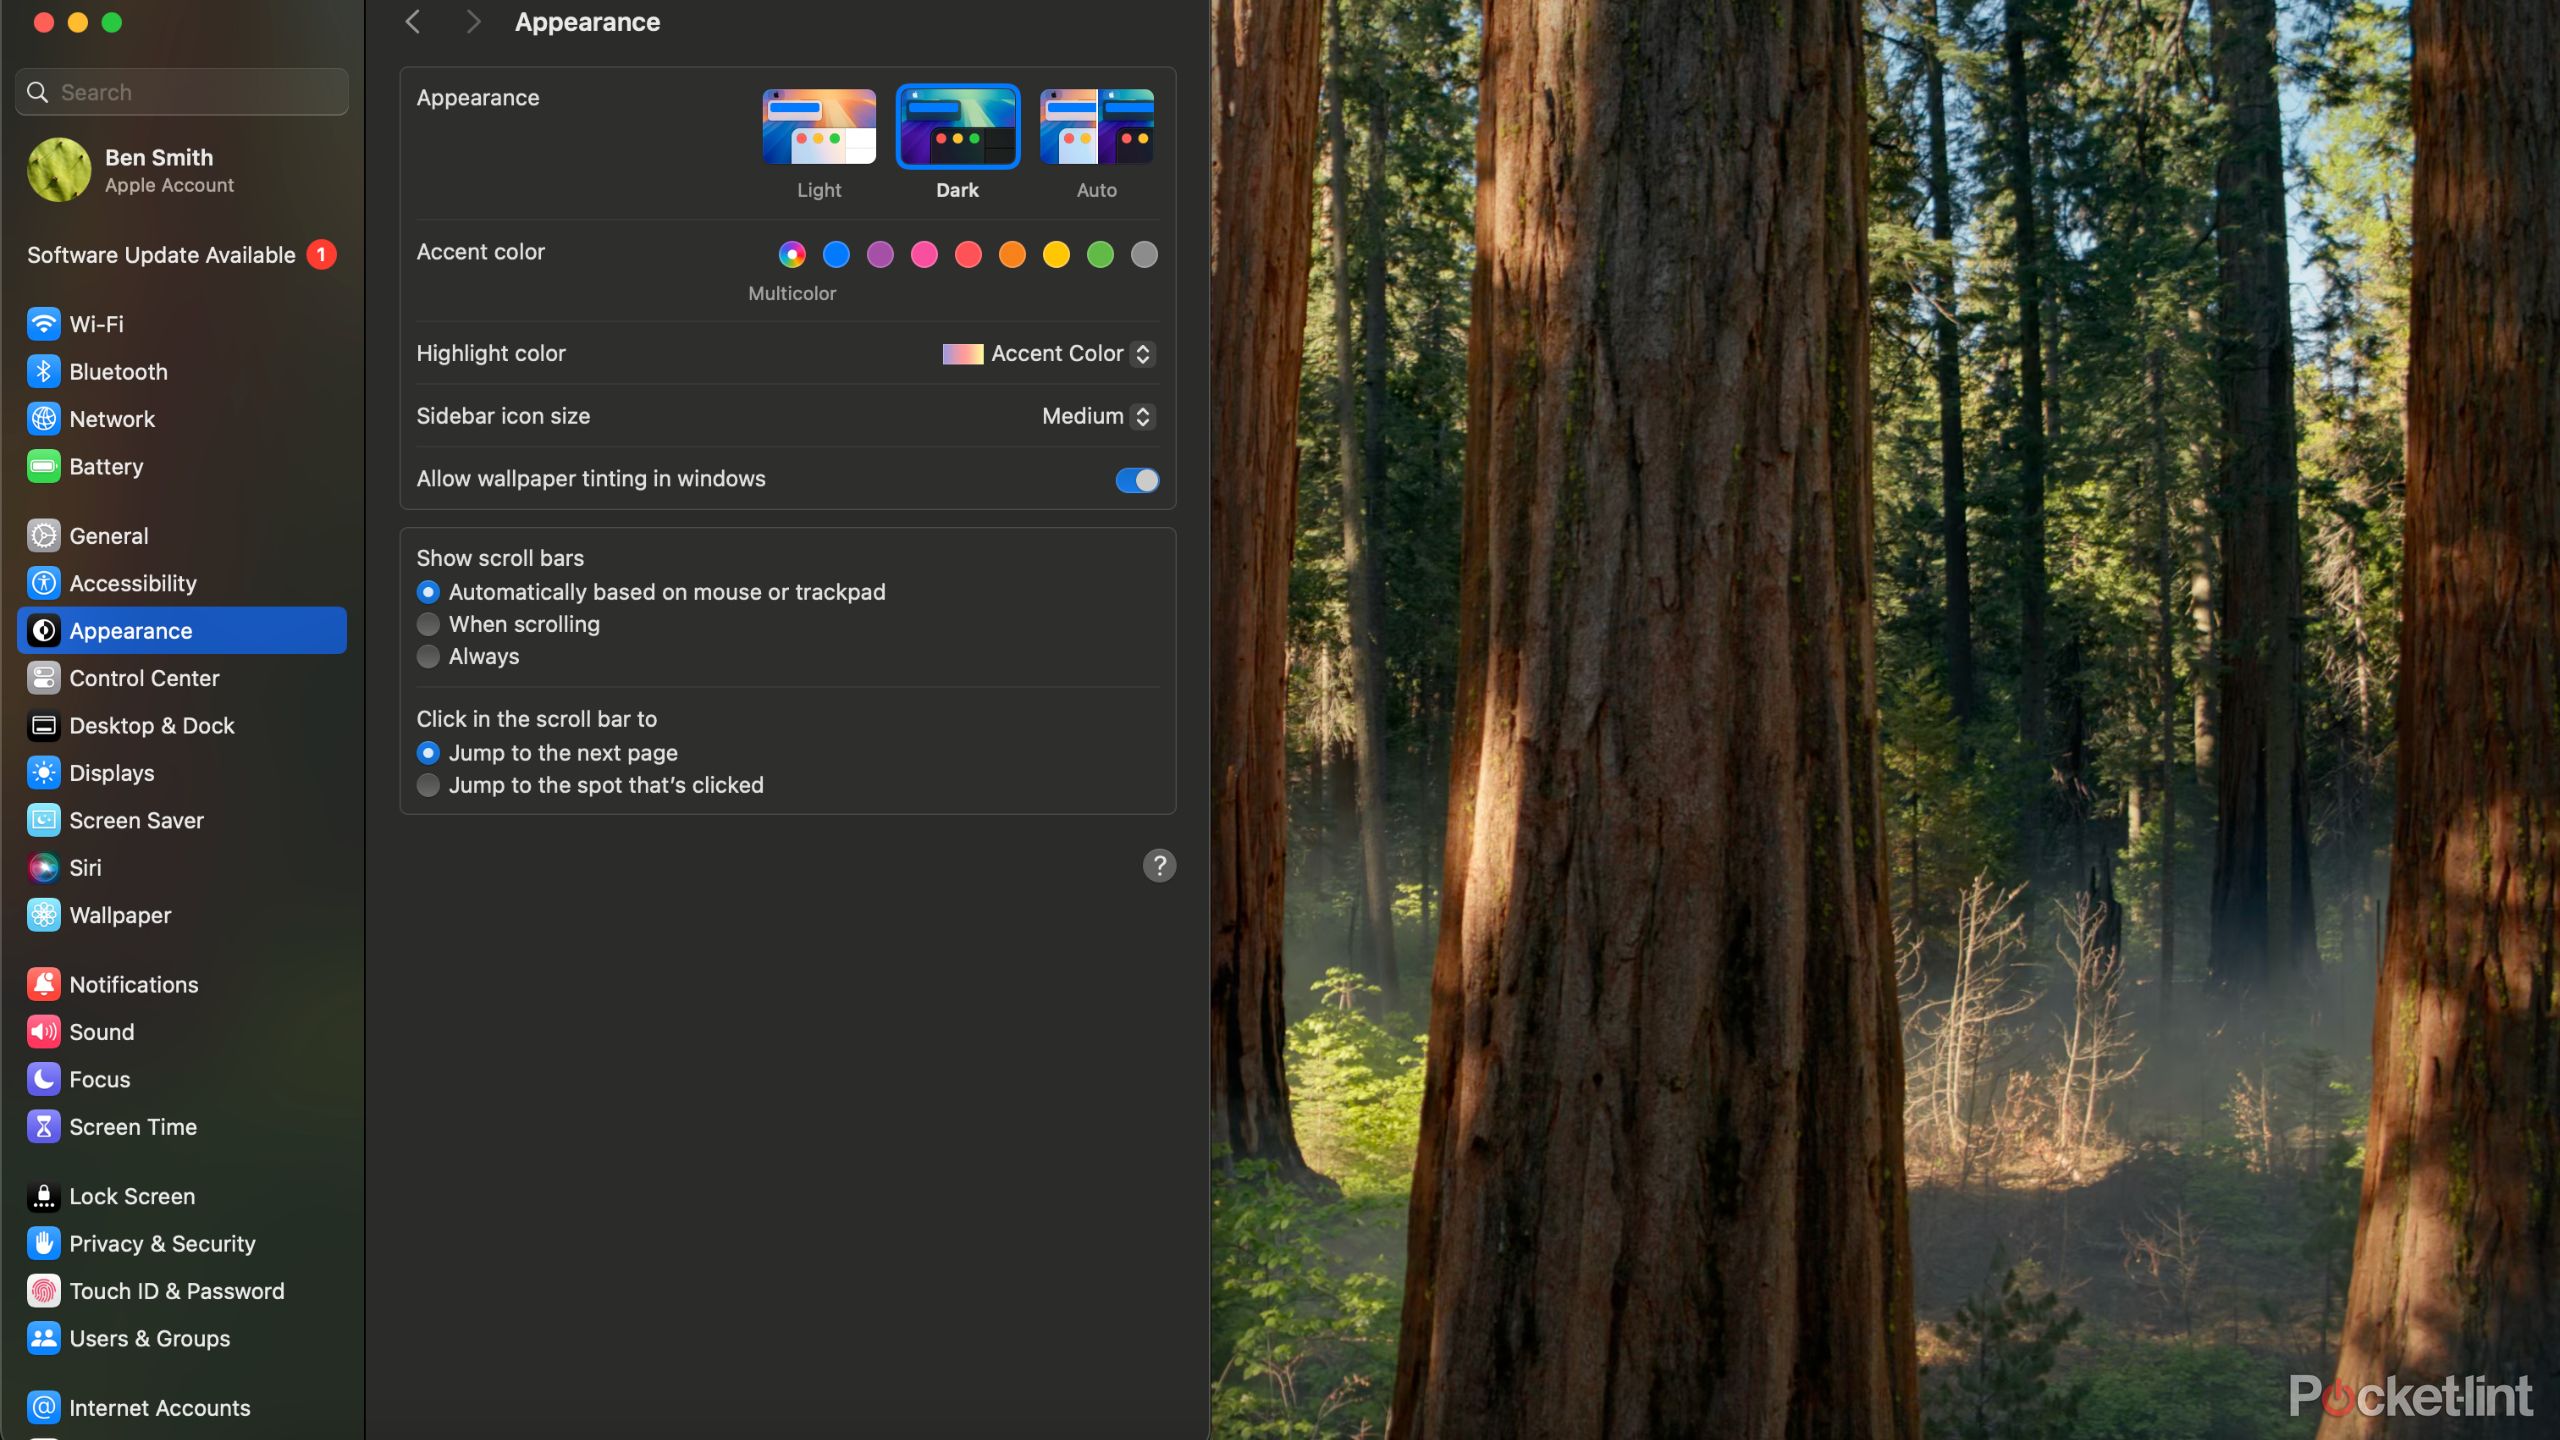
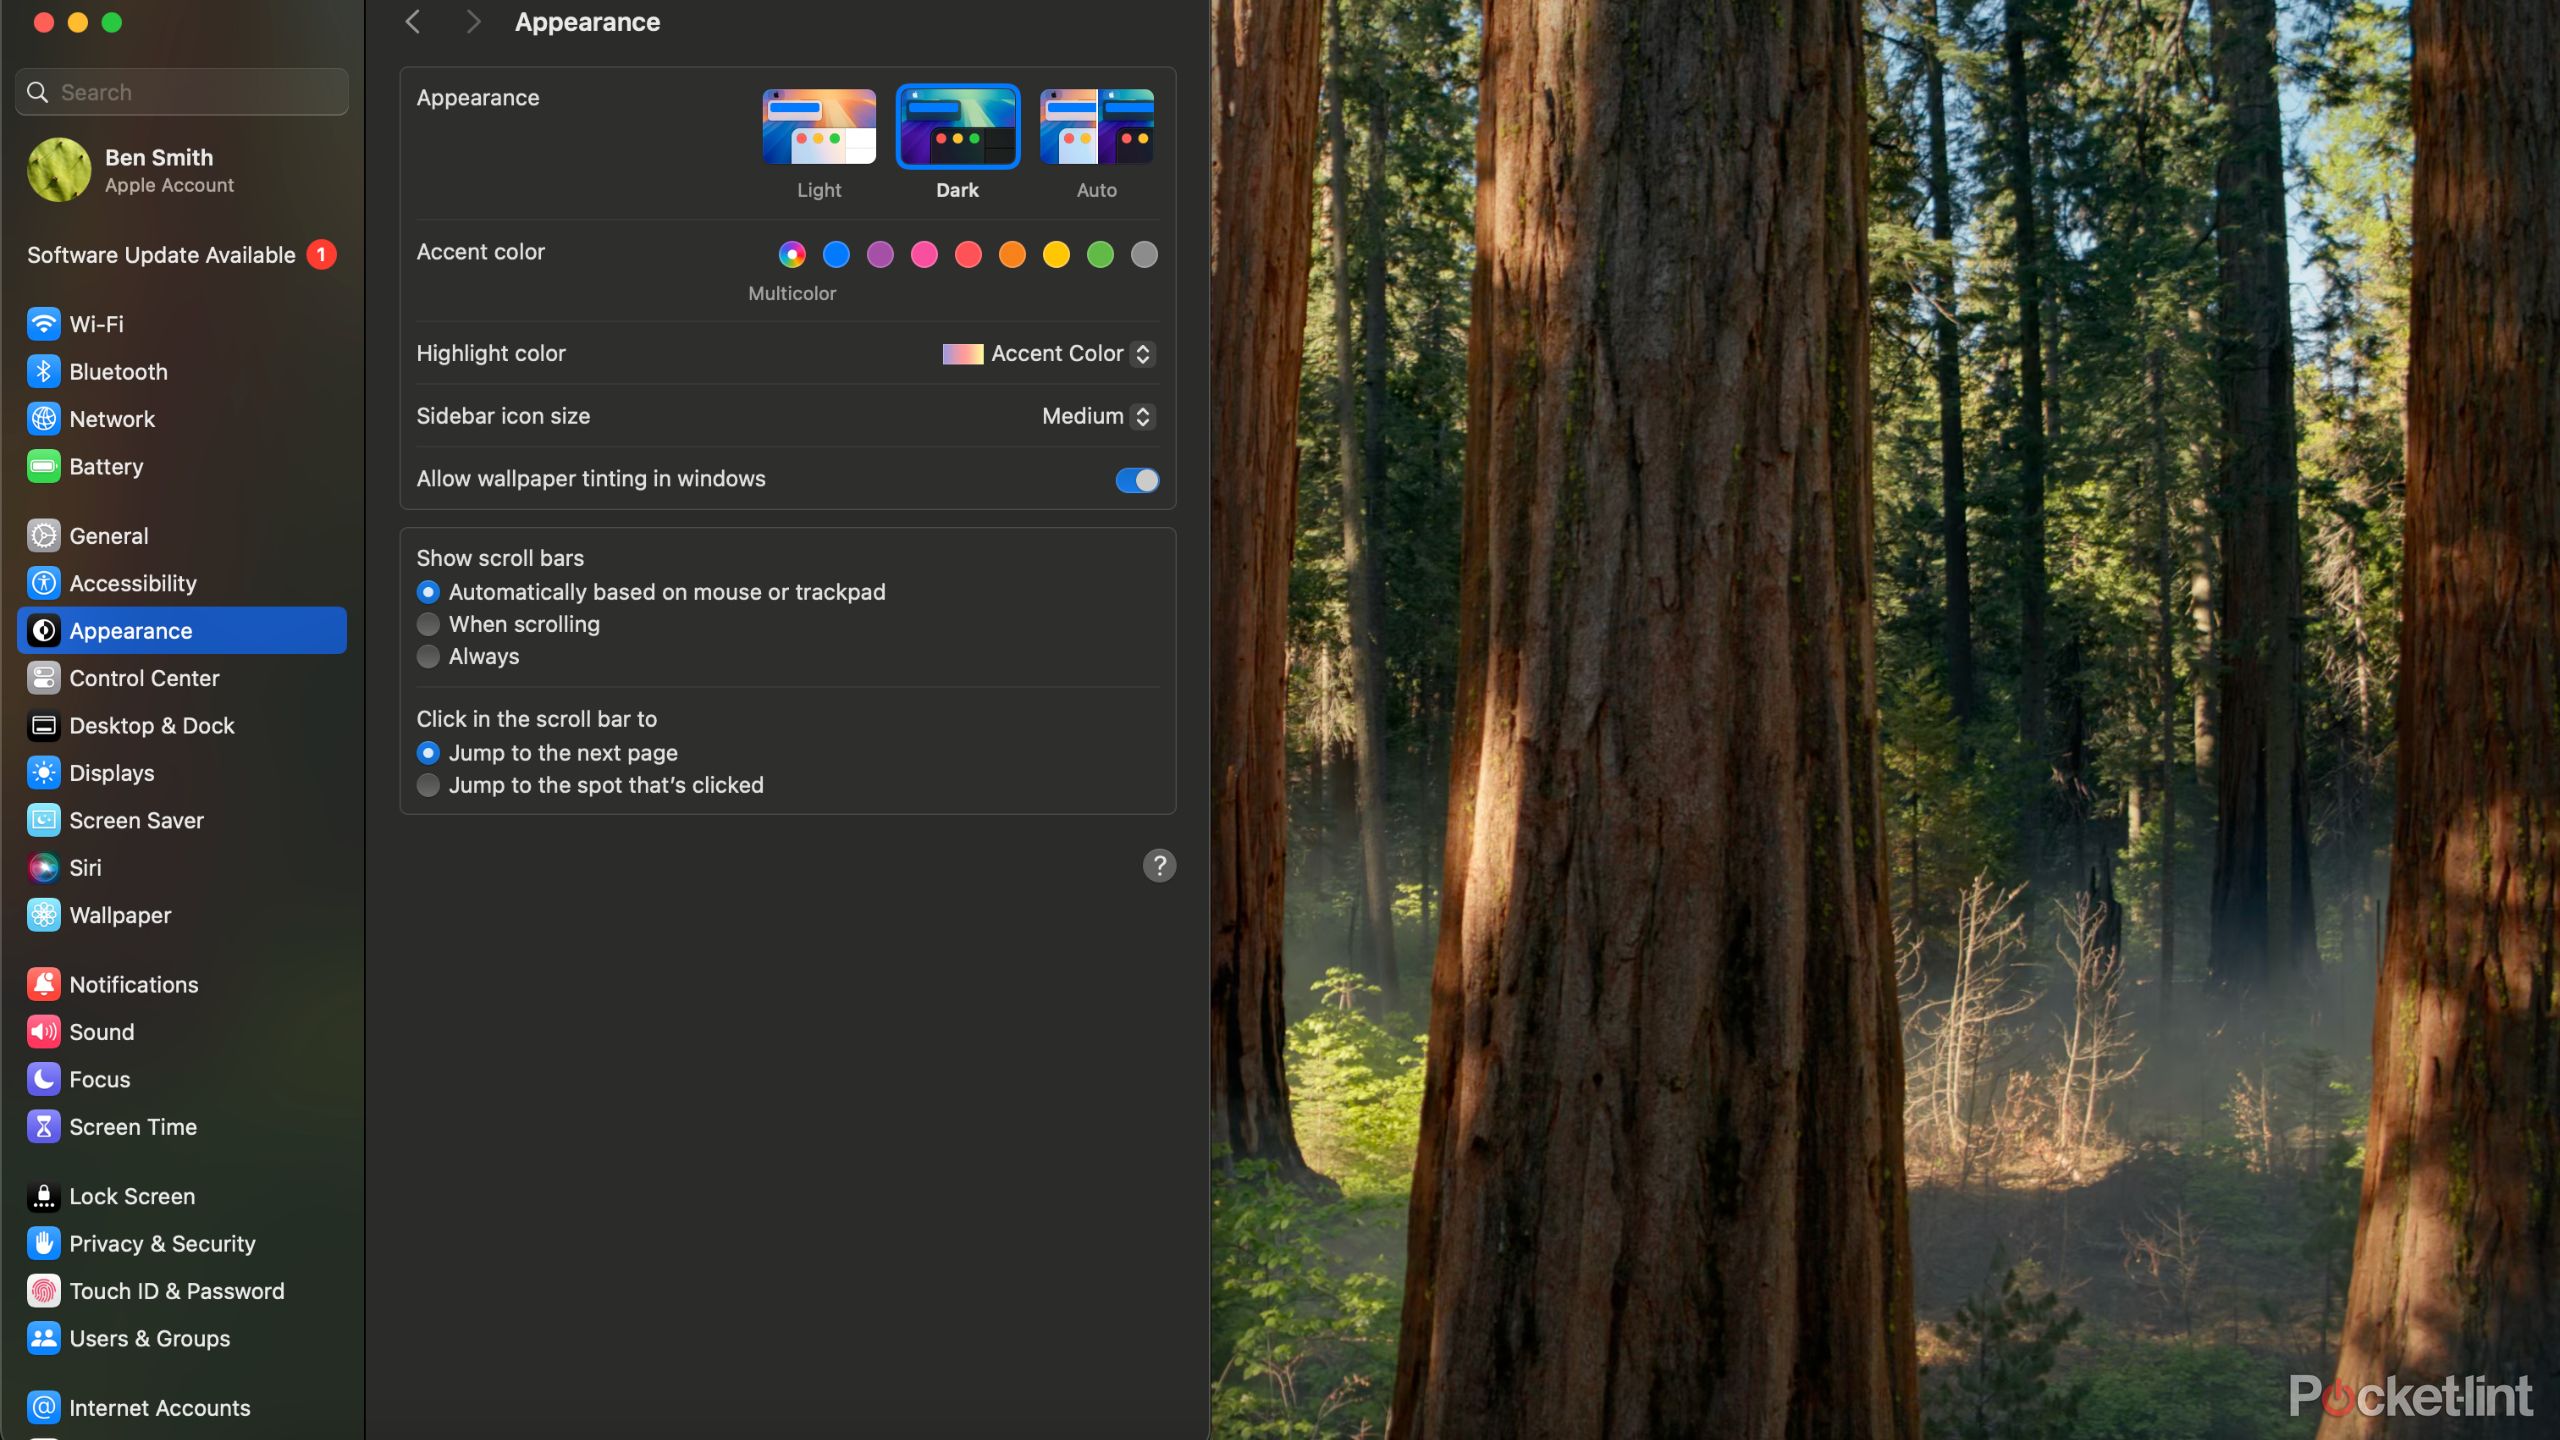
I’m a fan of the dark mode on macOS. From the appearance tab, you can choose dark mode, as well change the accent color settings. The appearance tab is also where you can change or add your own screensaver. I personally like the default ‘landscape’ options that Apple provides, and there’s always new backgrounds and screensavers with almost every update.
Follow these steps to access the appearance menu:
- Open the System Settings, and find Appearance in the left-hand sidebar.
- Choose your appearance preset. You can choose between light mode, dark mode, or an automatic mode that will switch between them.
- From here, you can also change the accent and highlight colors.
- In the left-hand sidebar, select wallpaper to choose a new wallpaper.
1:04

Related
How to force Chrome to show any site in dark mode
Dark mode makes your battery last longer, and it’s easier on the eyes at night. Here’s how to activate it in your Google Chrome browser.
Make use of macOS widgets to simplify your workflow
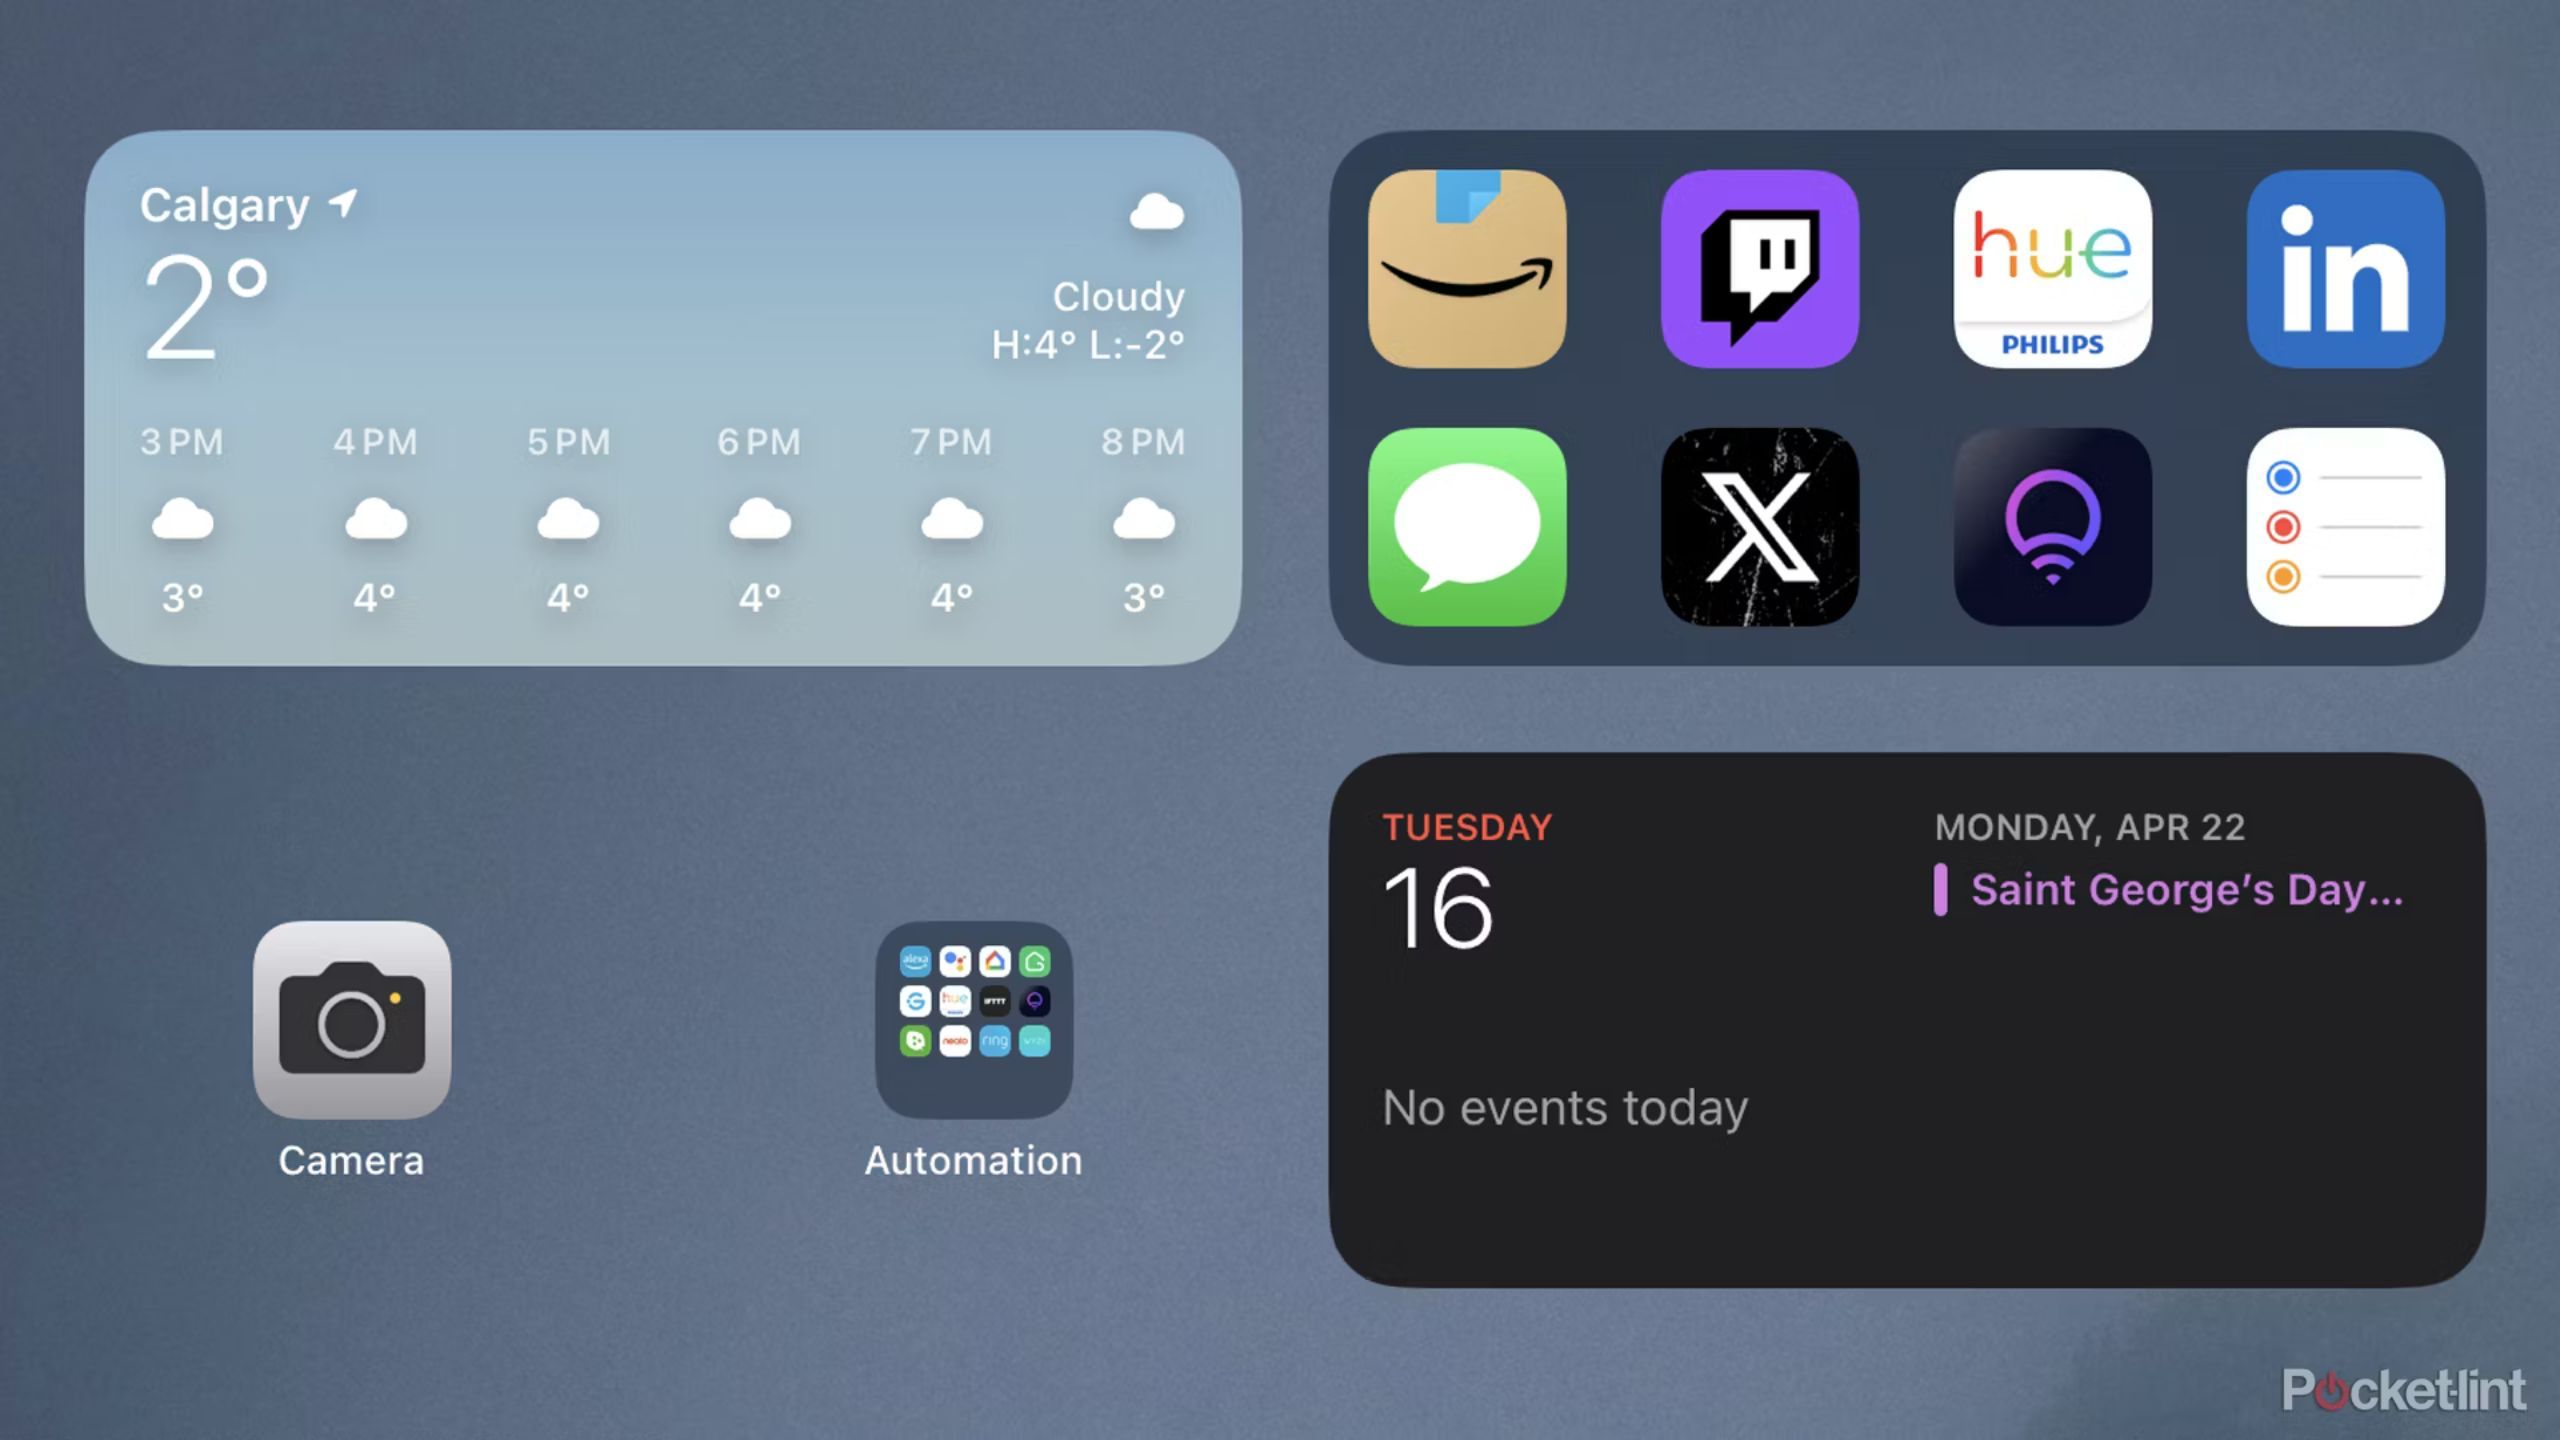
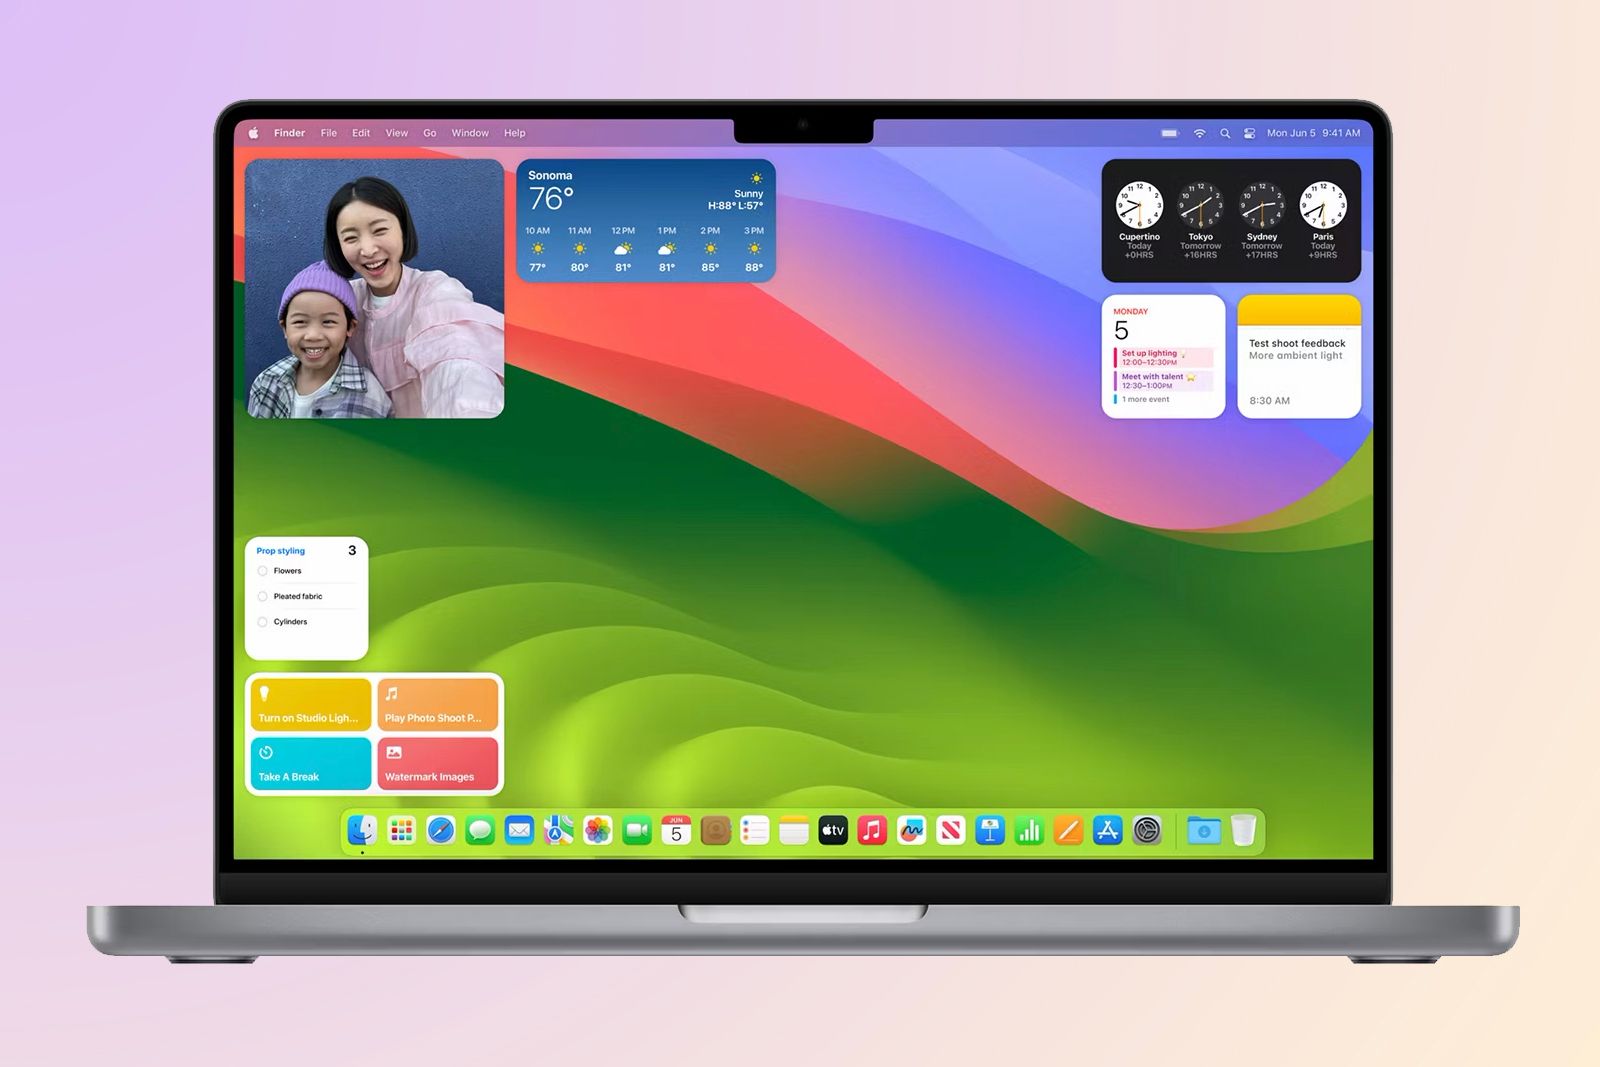
macOS has supported widgets for a while, but it’s refined how widgets function, and also introduced iPhone widgets to the Mac with the release of macOS Sonoma.
Now with macOS Seqouia here, there are even more widgets and ways to use them. Here’s everything you need to do to get widgets set up on your Mac:
- Click the date and time in the top menu bar, and open the notification center.
- Scroll down to the bottom of the list and select Edit Widgets.
- This will open the widget panel menu, where you can drag and drop widgets to the home screen or to the notification center.
I like using widgets to customize my desktop, and I like to pin widgets that make my work life a bit easier.
Related
How to add widgets on Mac and what ones are available
In macOS Sonoma, widgets come to your Mac desktop. Here’s how to use them.
6 Setup focus profiles
Eliminate distractions
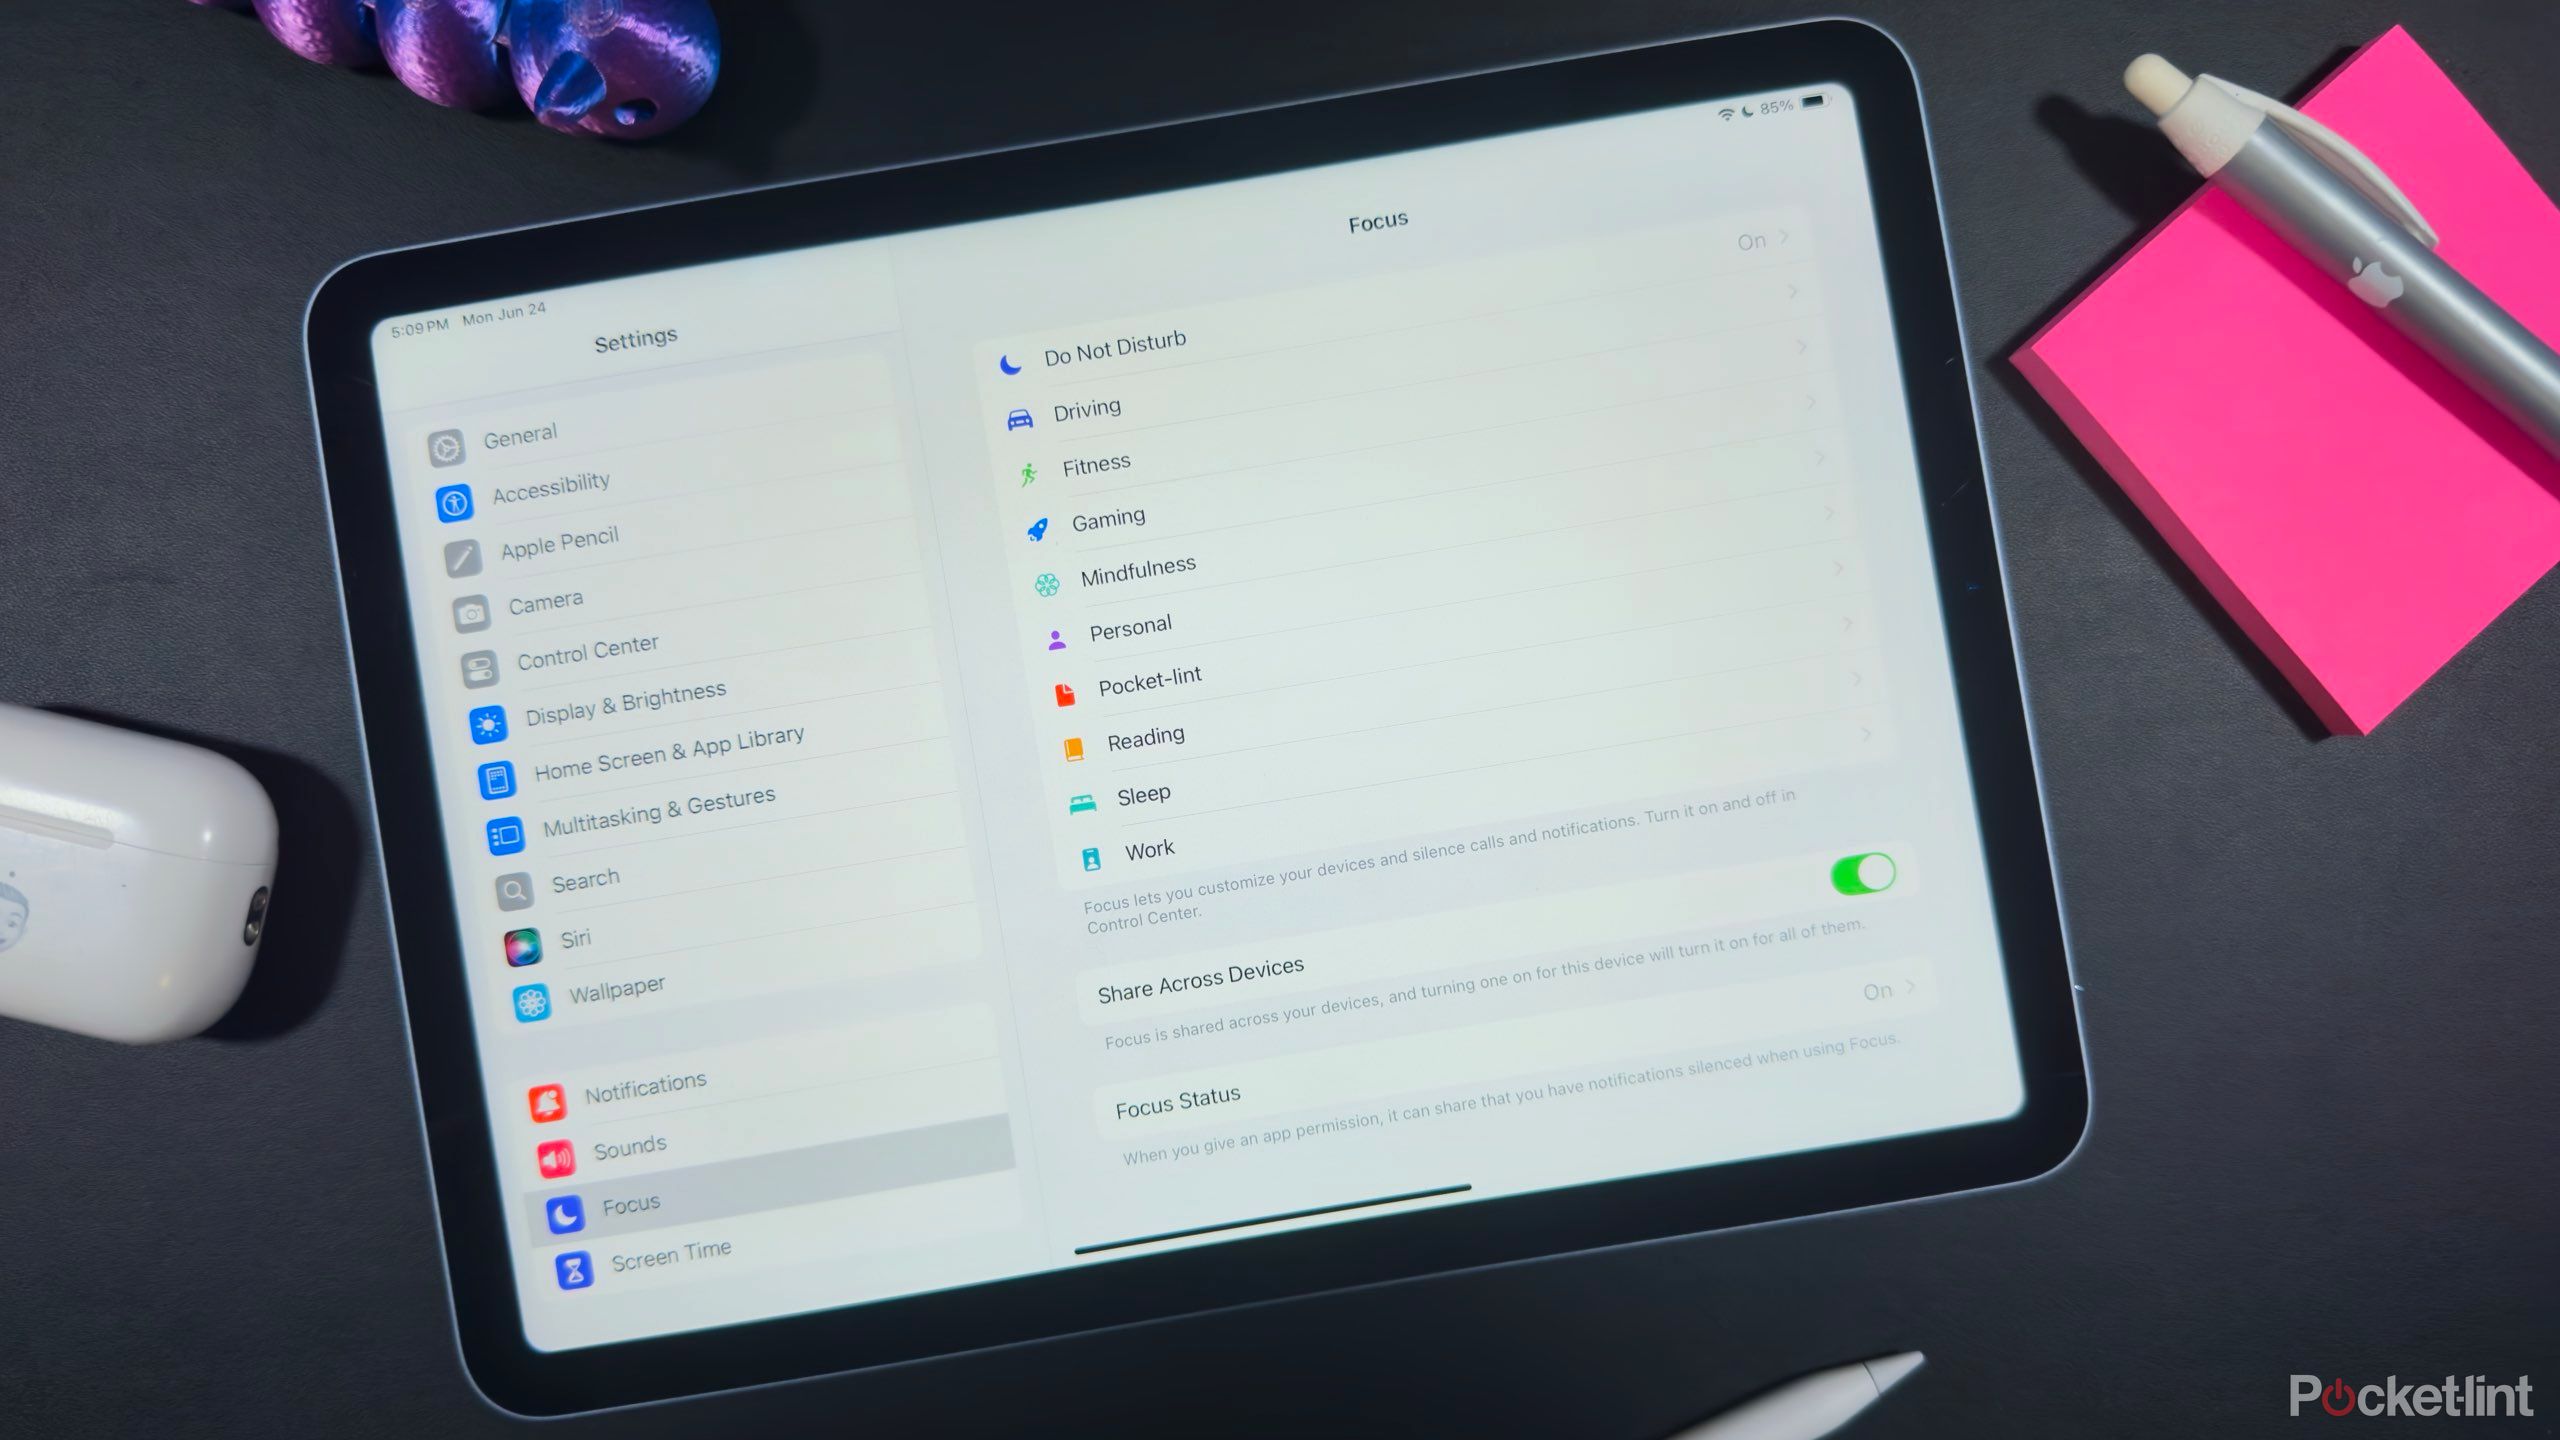
macOS features multiple focus modes to help you cut out any distractions while working on your Mac. I use the ‘Work‘ focus mode while I’m working, so that I only see notifications from work apps such as Slack and my work Gmail.
Here’s how to set up widgets on your Mac:
- Open System Settings and select Focus.
- Choose any of the default focus modes, or create a new one by clicking the Add Focus button.
- From here, you can also create a focus mode schedule.
Pocket-lint has an in-depth guide to using Apple’s Focus modes, and you can check it out below.
Related
How to use Apple’s Focus modes to add more calm to your life
Learn how to use Apple’s Focus modes to reduce distractions, manage notifications, and boost productivity on all your devices.
7 Choose what apps login on startup
Keep your MacBook fast
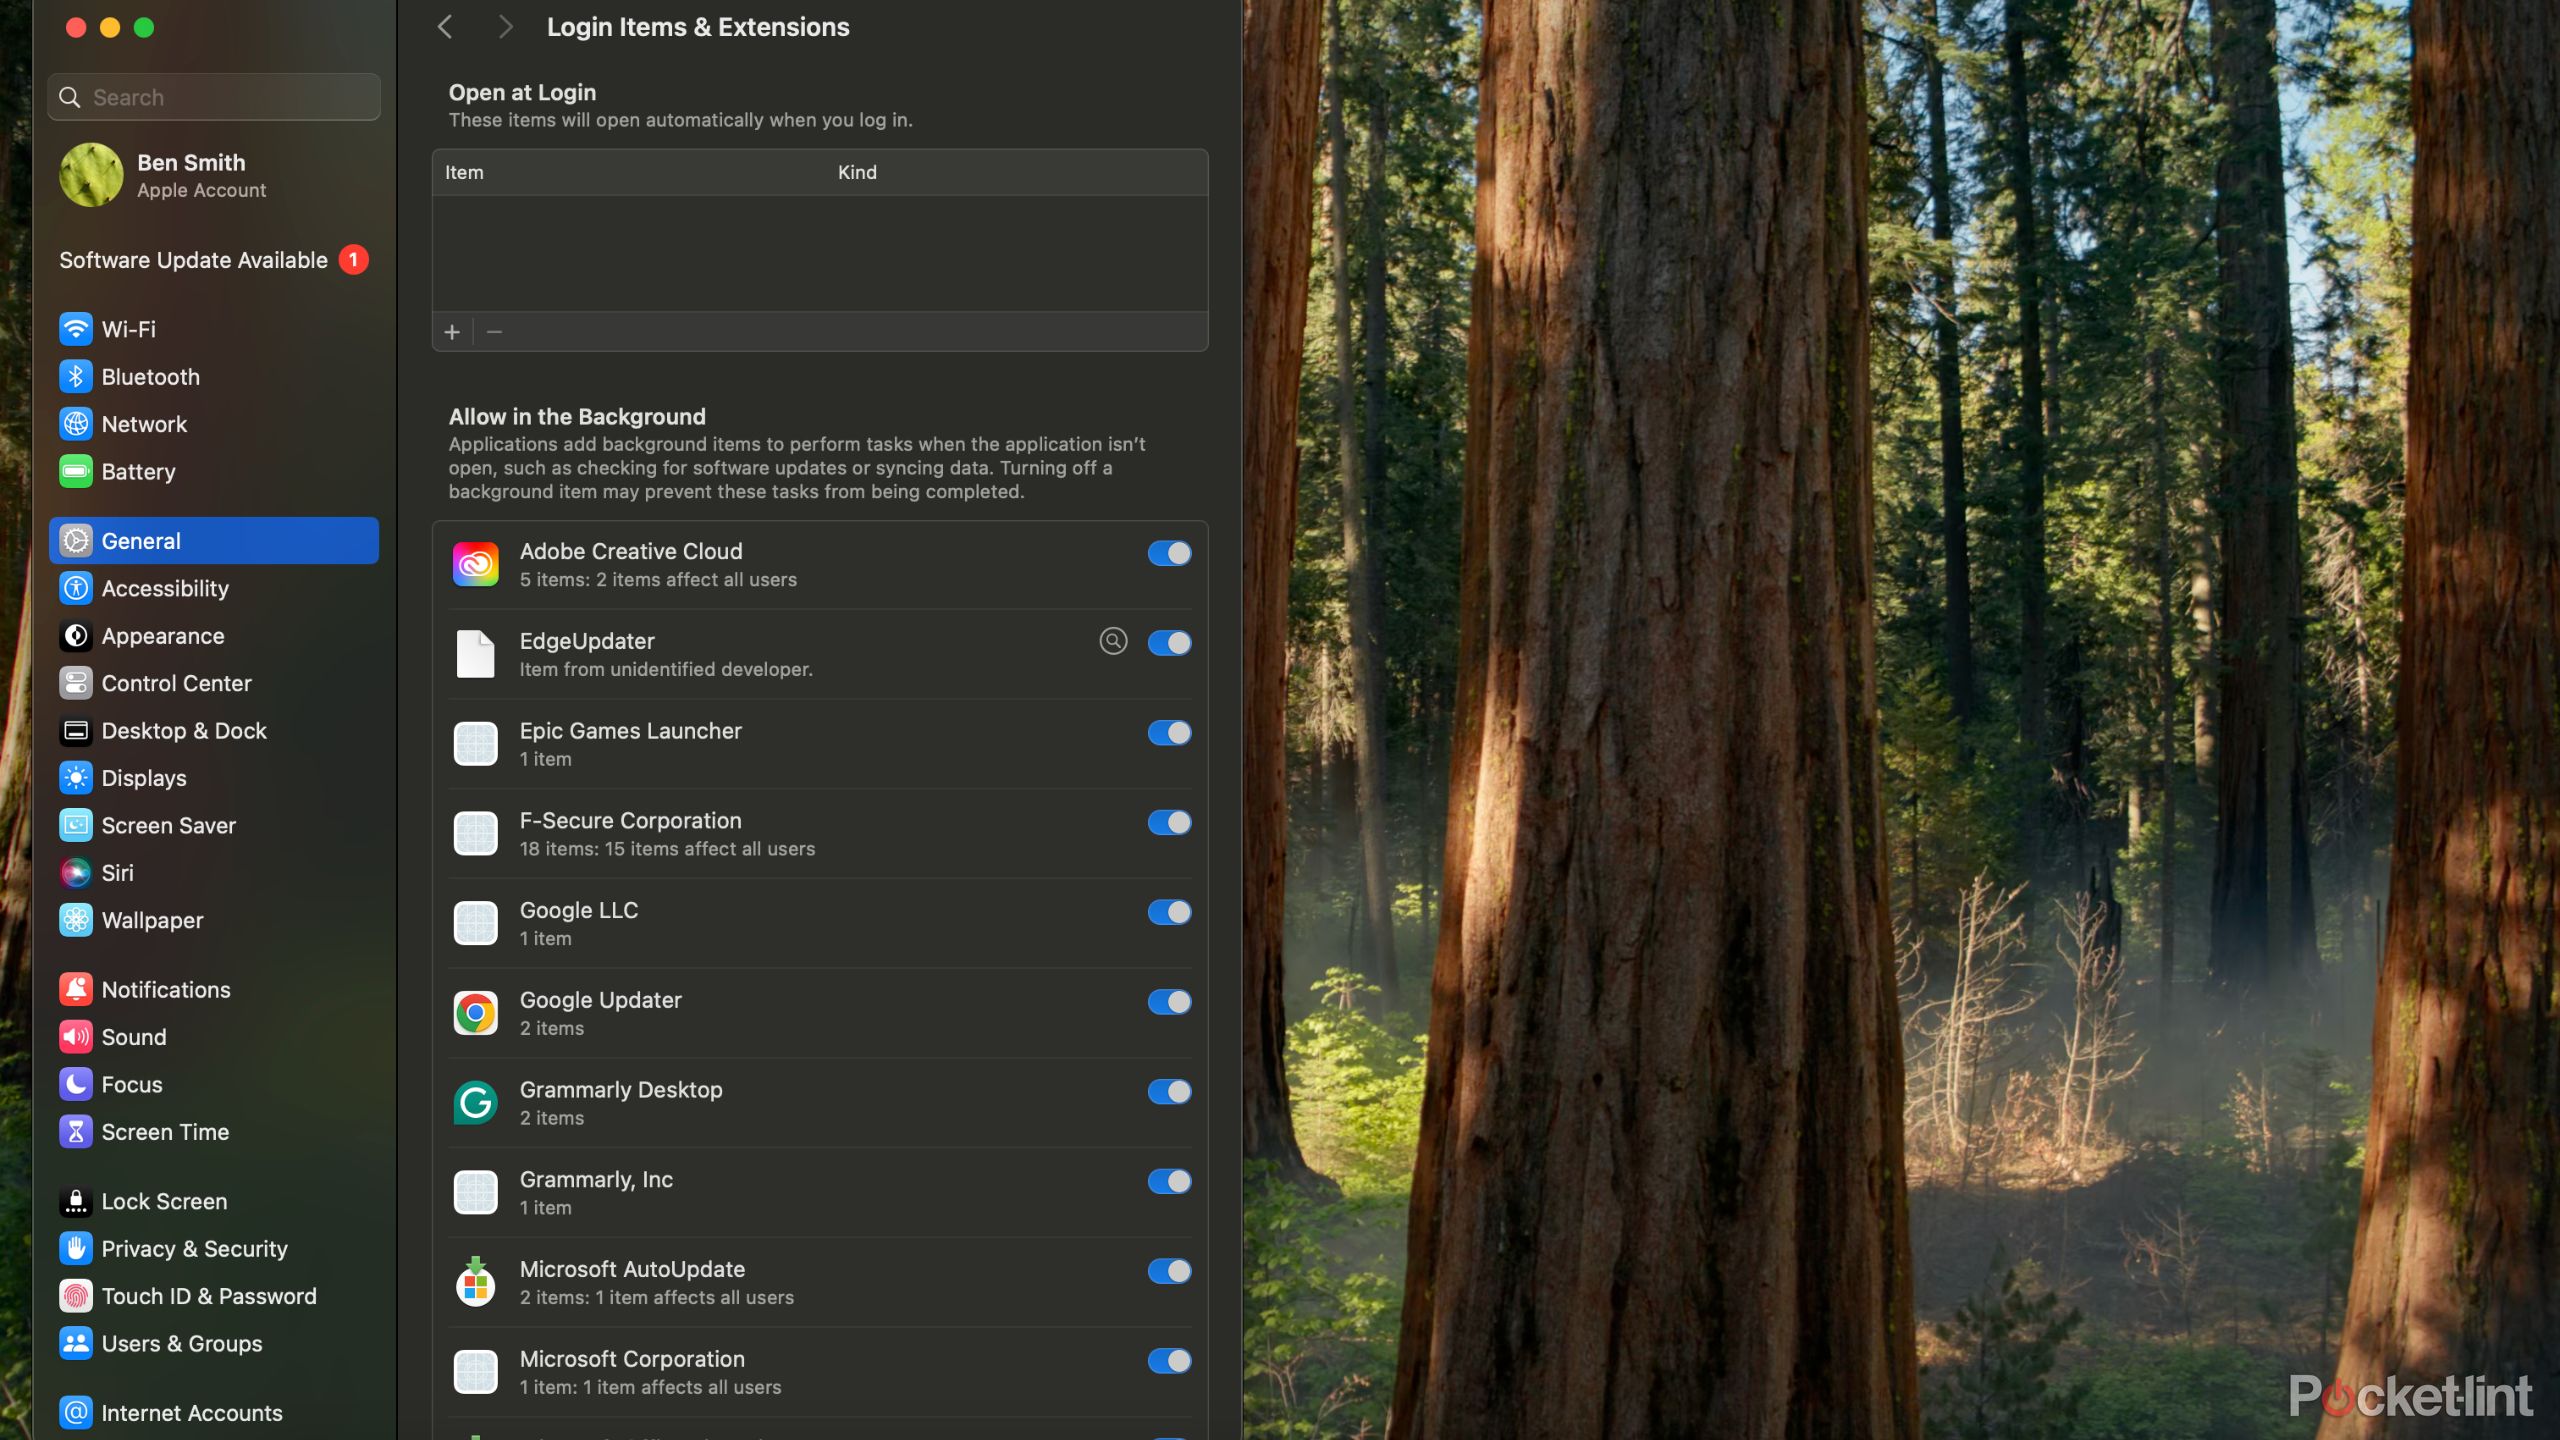
If you end up with a lot of third-party apps installed on your MacBook, you’ll want to manage your login items. Several apps will start by default when you turn on your Mac, which in turn will eventually cause your Mac to slow down. To keep everything working quickly, you should disable apps that you don’t need at startup. Here’s how to manage your startup apps:
- Head to the System Settings page.
- Click General in the left-hand pane and in the right, select Login Items.
- Select any apps you don’t want to open on startup and click –.
Related
These 12 third-party macOS utility apps are a cut above the rest
macOS is home to a rich selection of third-party utilities — these are the best apps I can’t live without.
8 Install all of your favorite apps
From productivity tools to a different web browser
Apple / Vishnu Monahan / Unsplash / Pocket-lint
Once you have tweaked all of your settings to your liking, it’s time to download your favorite apps.
I always start by installing a new browser, and then making that browser my default browser on macOS. You can do this in the Desktop & Dock settings where it says Default web browser. You can download most of the things you need through the Apple App Store on macOS, or download directly from developers that you trust.
Either way, once you tweak your settings and get all of your apps installed, you’ll be ready to use your new Mac.

Related
These 13 free Mac apps take my workflow to the next level
These light-weight apps completely changed my workflow, and they’re all free.
Trending Products

Lenovo New 15.6″ Laptop, Intel Pentium 4-core Processor, 40GB Memory, 2TB PCIe SSD, 15.6″ FHD Anti-Glare Display, Ethernet Port, HDMI, USB-C, WiFi & Bluetooth, Webcam, Windows 11 Home

Thermaltake V250 Motherboard Sync ARGB ATX Mid-Tower Chassis with 3 120mm 5V Addressable RGB Fan + 1 Black 120mm Rear Fan Pre-Installed CA-1Q5-00M1WN-00

Sceptre Curved 24-inch Gaming Monitor 1080p R1500 98% sRGB HDMI x2 VGA Build-in Speakers, VESA Wall Mount Machine Black (C248W-1920RN Series)

HP 27h Full HD Monitor – Diagonal – IPS Panel & 75Hz Refresh Rate – Smooth Screen – 3-Sided Micro-Edge Bezel – 100mm Height/Tilt Adjust – Built-in Dual Speakers – for Hybrid Workers,Black

Wireless Keyboard and Mouse Combo – Full-Sized Ergonomic Keyboard with Wrist Rest, Phone Holder, Sleep Mode, Silent 2.4GHz Cordless Keyboard Mouse Combo for Computer, Laptop, PC, Mac, Windows -Trueque

ASUS 27 Inch Monitor – 1080P, IPS, Full HD, Frameless, 100Hz, 1ms, Adaptive-Sync, for Working and Gaming, Low Blue Light, Flicker Free, HDMI, VESA Mountable, Tilt – VA27EHF,Black


